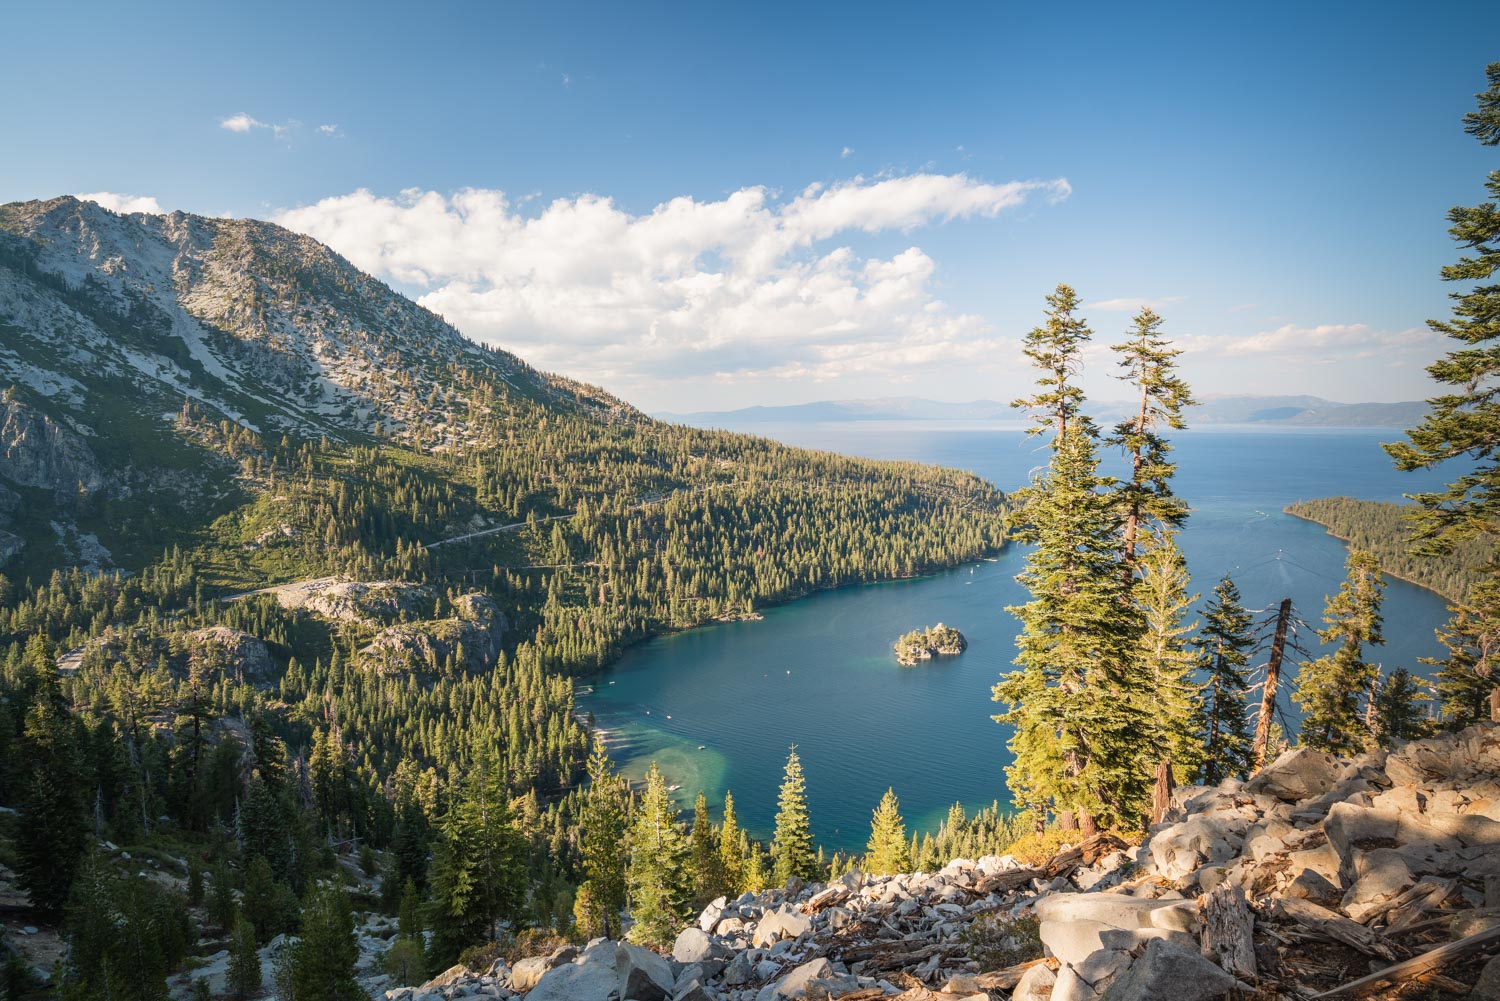
Only five miles from the trailhead, Fontanillis Lake is a quiet oasis from the South Lake Tahoe scene. Combined with Dicks and Velma Lakes, this loop is the perfect overnighter, especially coming from the Bay Area. You can also do a fun, easy summit up Dick's Peak for 360 degree views of all of Desolation.
Affiliate disclaimer: this article includes some affiliate links, which means I may earn a small commission on any purchase made - at no additional cost to you. As always, all opinions are my own. Thank you for supporting the work I do to keep creating meaningful content like this for you!
Backpacking Trip Info
Dates: 8/31 - 9/2
Miles: 10.6 roundtrip + 4.2 side trip up to Dick's Peak
Elevation Change: 2,825 ft + 1,864 ft side trip up to Dick's Peak
Trail Type: Lollipop
Trailhead: Google Maps
Permit Required: Yes for overnight backpacking (issued for Desolation Wilderness), self issued at the trailhead for day hikers
Permits
For backpacking, Fontanillis and Dicks Lake are both in the same Desolation Wilderness zone - #23. You can reserve 11 spots ahead of time online at Recreation.gov, and 5 spots are available for same day walk in.
For day hikers, you can self issue a permit at the trailhead.
Click here for all the important dates for booking CA backpacking permits
Can’t find available permits?
You can now sign up to be notified of any permit cancellations via Outdoor Status!
Getting There
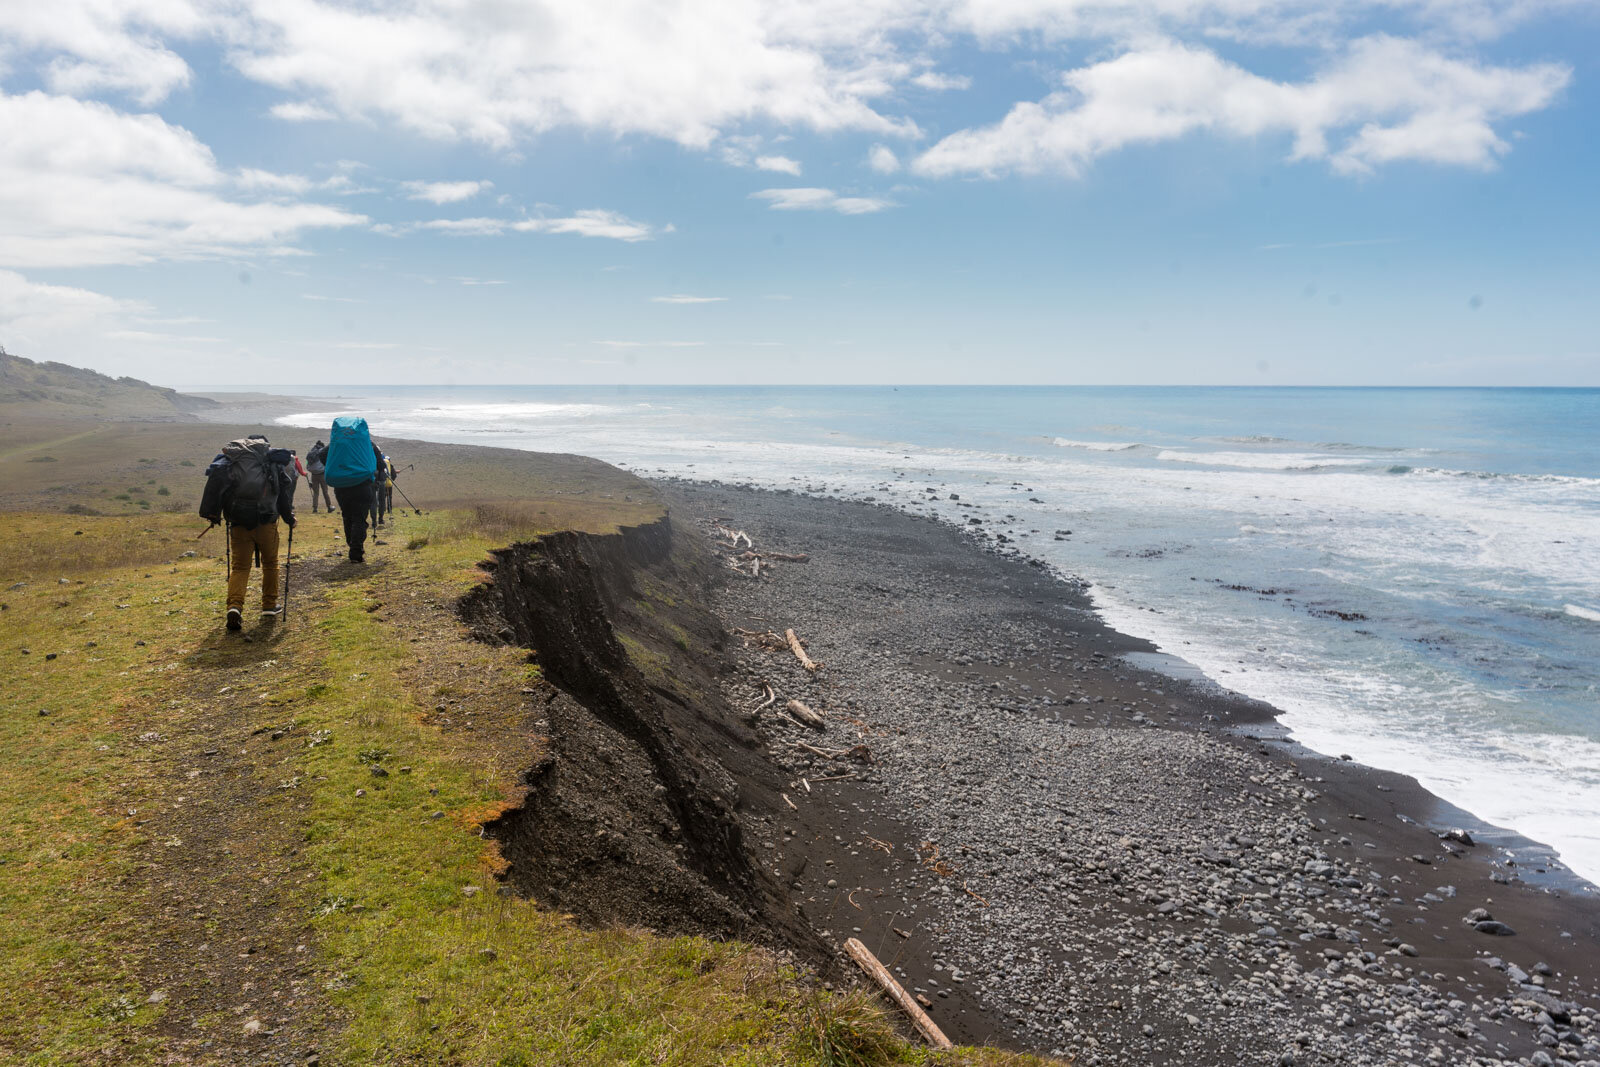
These lakes share the same trailheads with some of the most popular outdoor hiking/backpacking spots in all of South Lake Tahoe. The Velma Lakes are some of the most popular overnight lakes to camp at in Tahoe, and Eagle Falls is the most popular dayhike in the area. This means you'll want to get there as EARLY as possible. On summer weekends you'll see a line of cars parked on side of the highway.
If you're not lucky enough to snag one of the few spots in the small lot right at the start of the trail, the next best spot is the dirt pull out right off the highway before the Bayview Campground.
You can hike in either view the Bayview Trail or the Eagle Falls Trail, but a ranger recommended us hike in via the Bayview Trail because it is not as steep.
The Trip
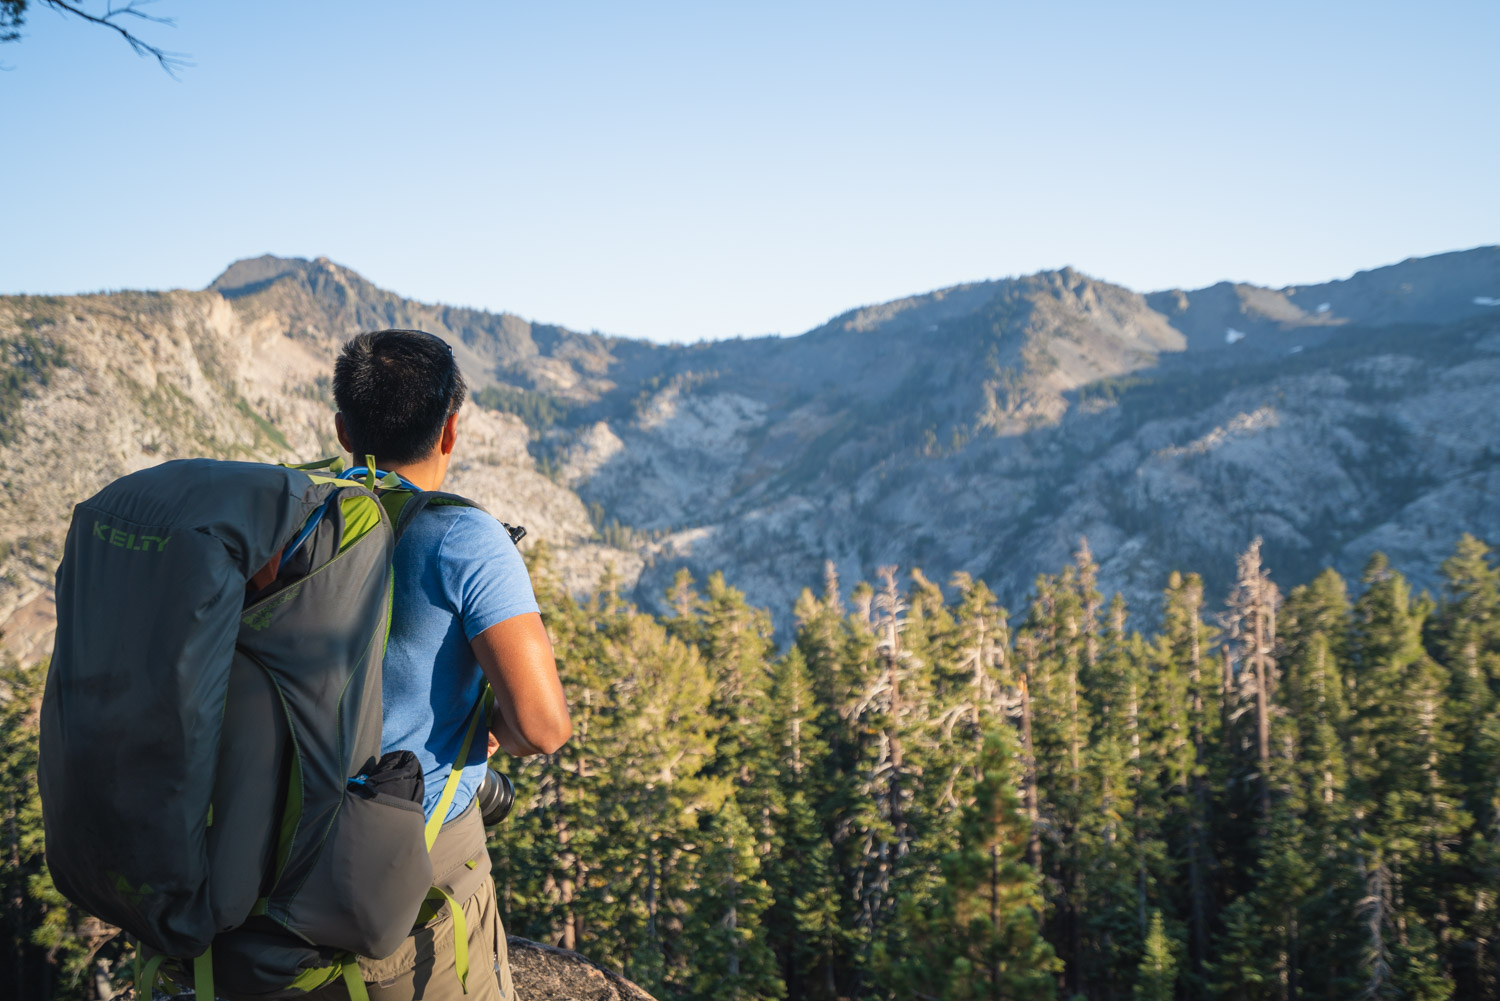
Starting at 6,909 ft, the trail heads up the side of the mountain immediately. The first two miles of the trail took me by surprise with how steep the incline was - we climbed about 1,500 feet in two miles! Within a mile of hiking I saw immediately why this trail was called the Bayview Trail. The view from up here of the blue water filled with tons of small white boats is one of the best views you'll find of Emerald Bay.
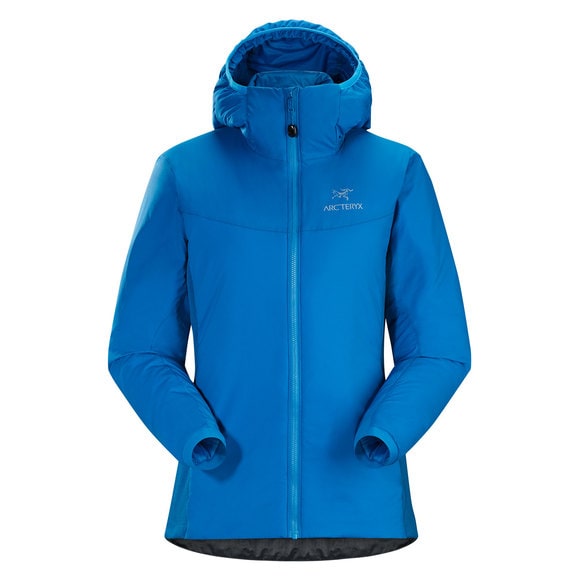
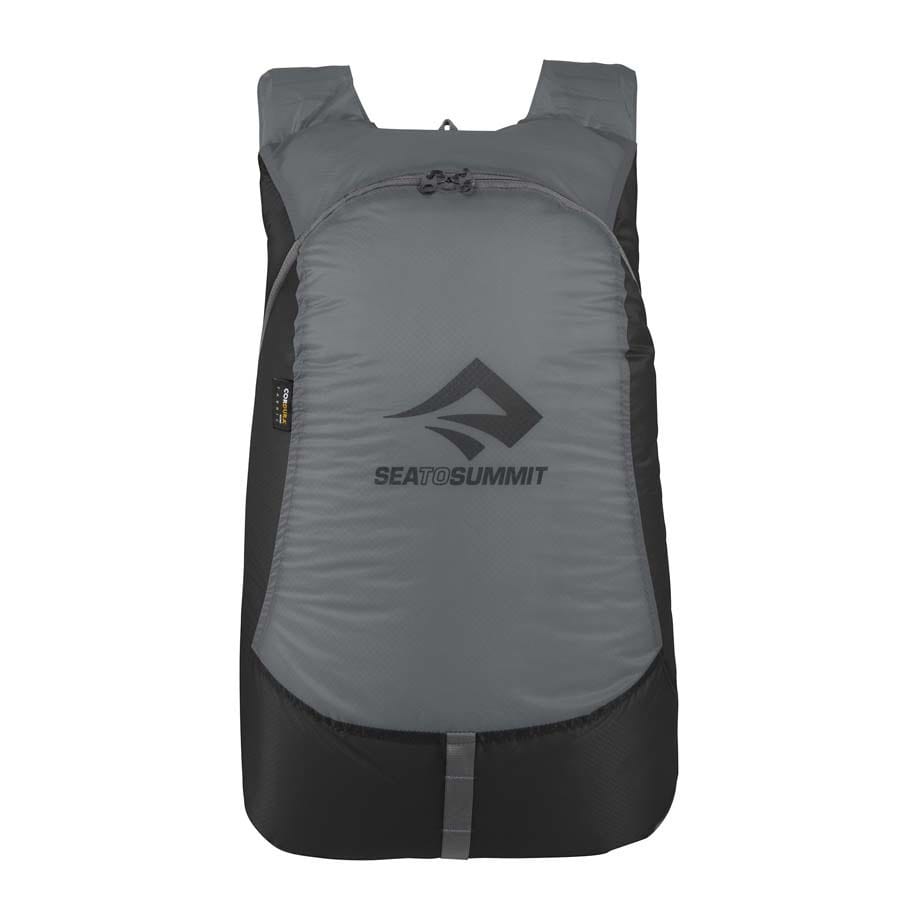
Click here for my complete weekend backpacking pack list
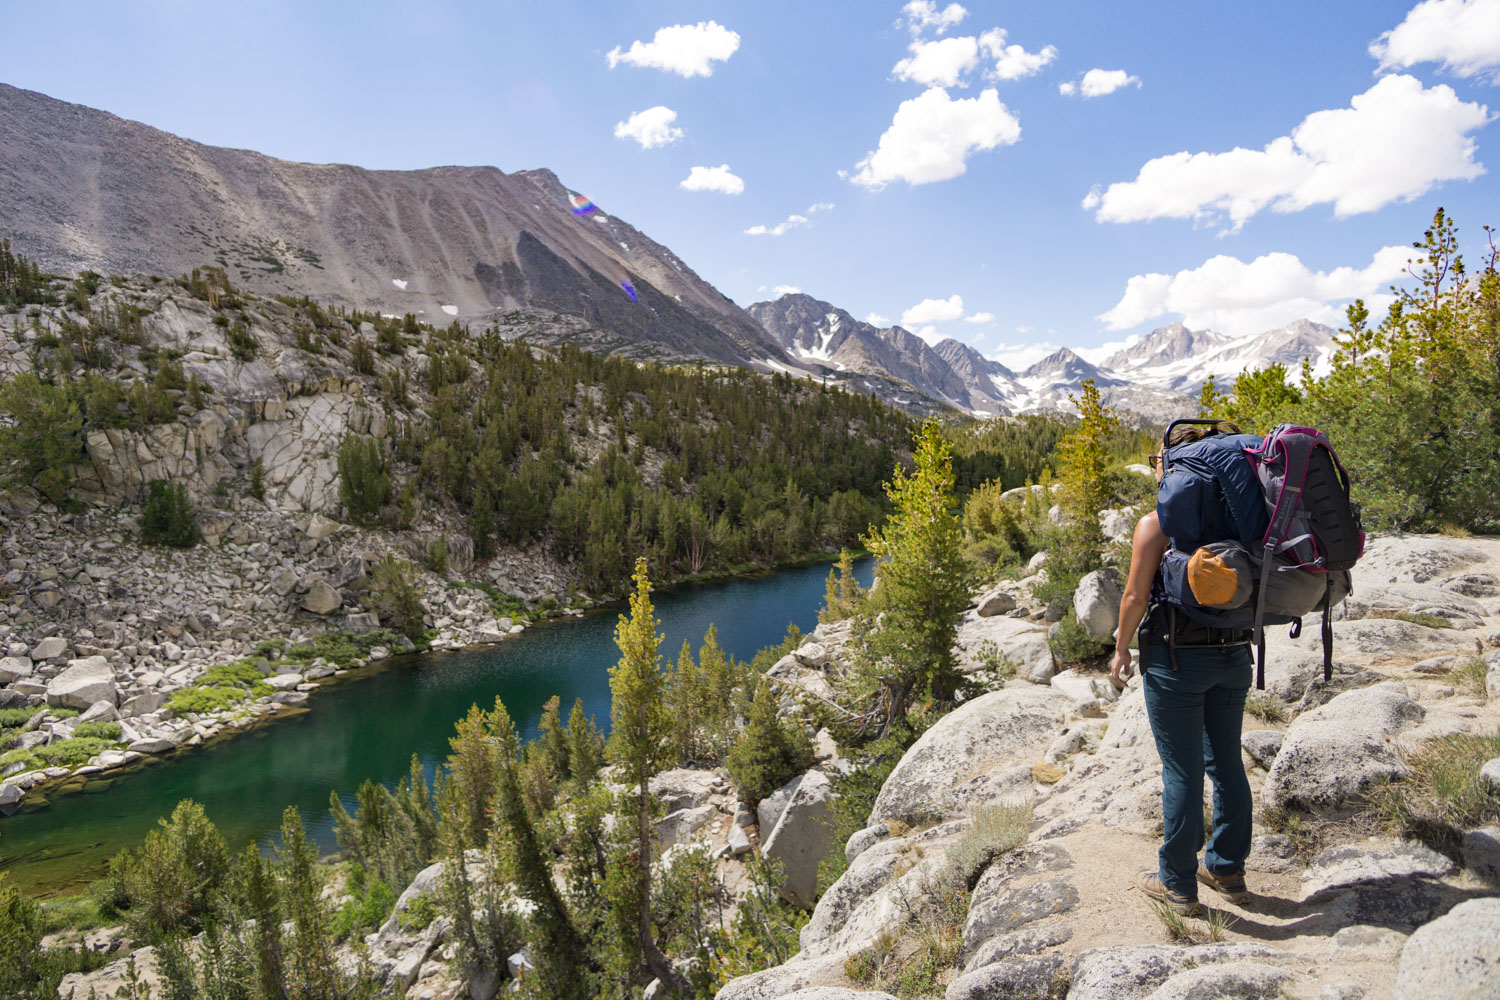
About a mile in we reached Granite Lake, where we spotted a few couples setting up camp at this small oasis only a mile away from the chaotic parking lot.

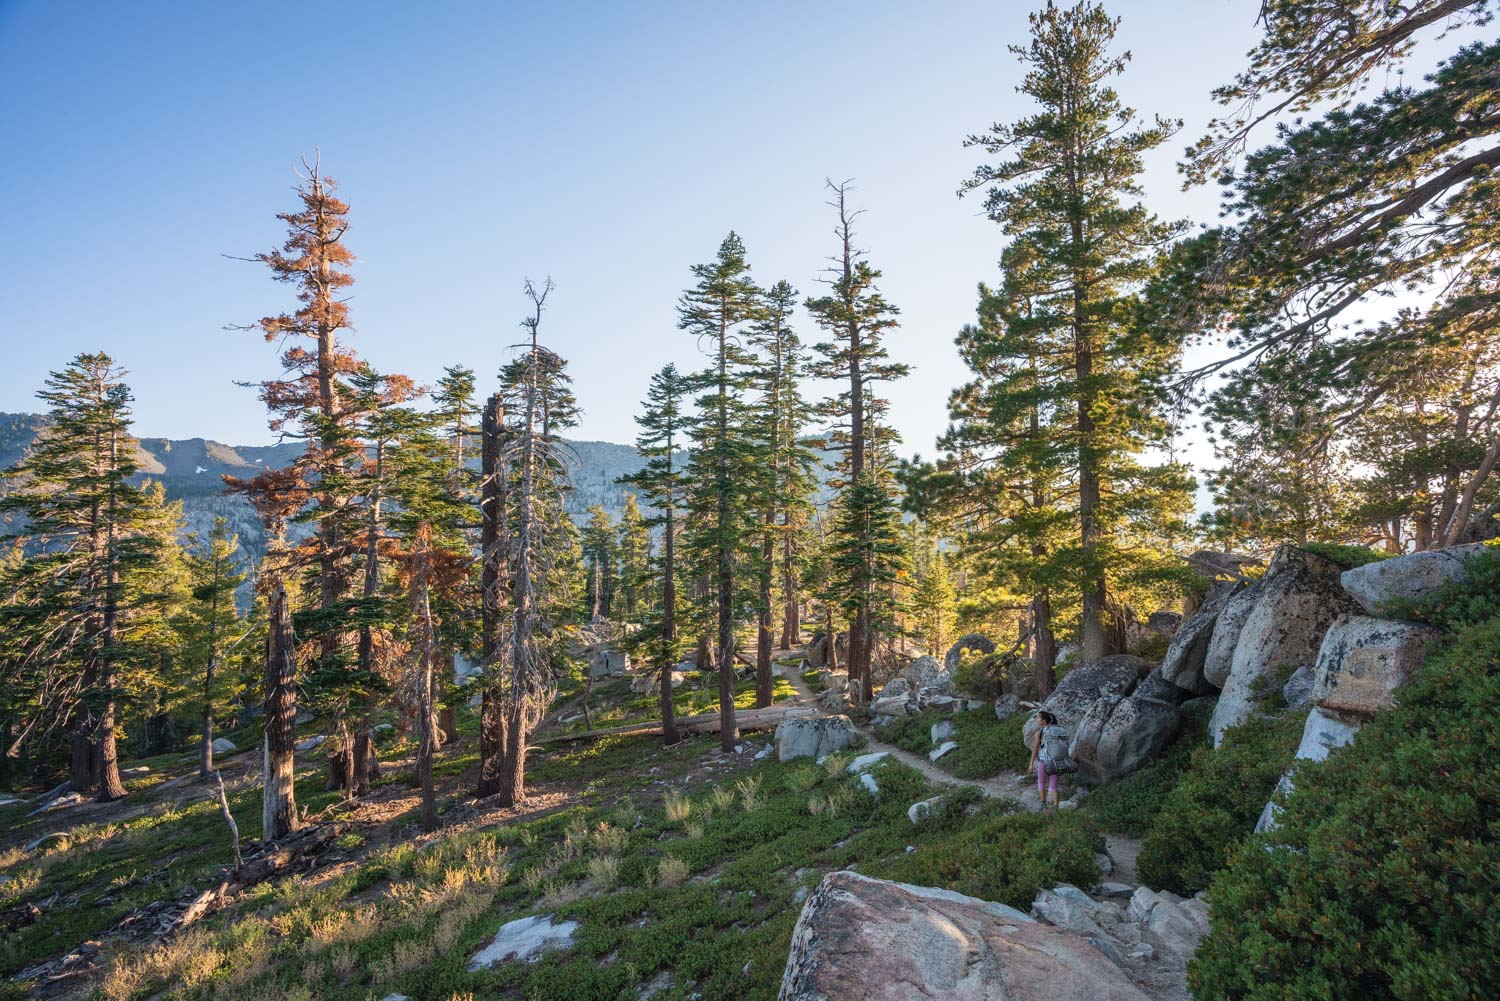
As we continued climbing, we got further and further away from Granite Lake and Lake Tahoe. Since we weren't acclimated, we had to take a break every couple of switch backs to catch our breath on our way up to the ridge between North and South Maggies Peak. Every so often we were passed a clearing in the trees where we could see more of the enormous blue lake in the distance.


Once we reached the top of the ridge, we were finally able to see the rest of the granite basin on the other side. We had started our hike quite late in the afternoon, as we wanted to get a head start before the rush of the long weekend. We saw how low the sun was, and I felt torn between stopping to shoot so many photos in the great light and rushing to get to Fontanillis Lake to find a camp site before it got too dark.

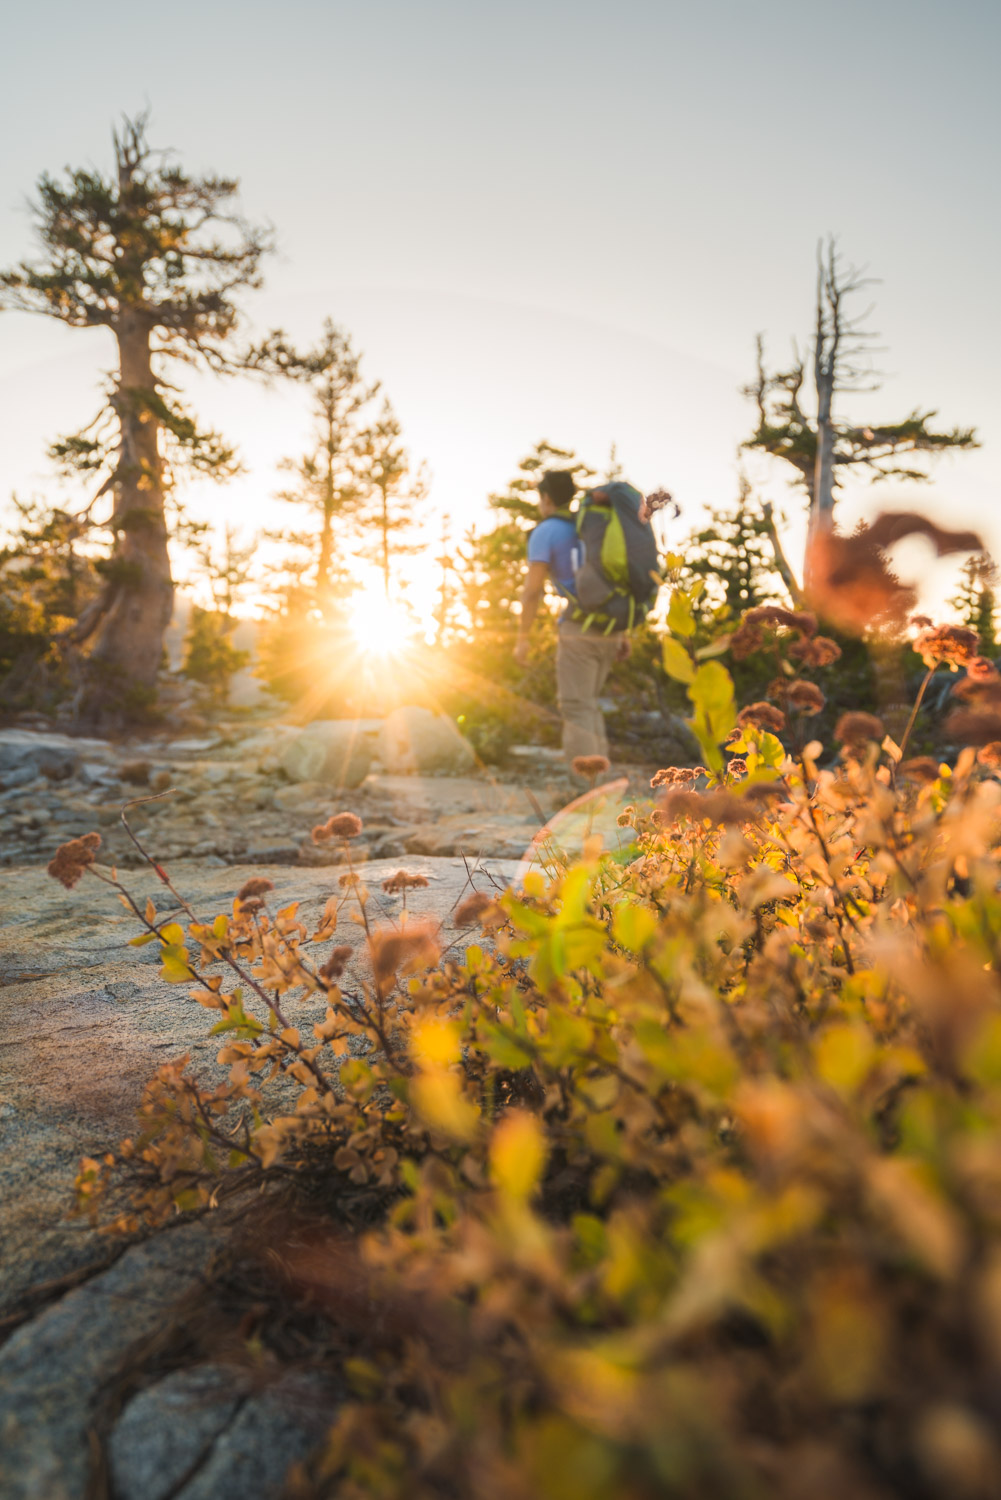

That golden light that photographers live for
Perhaps it was because everything was bathed in the late afternoon golden light, or because I was finally relieved to not be climbing uphill, but I found myself amazed by the views of this portion of the trail.
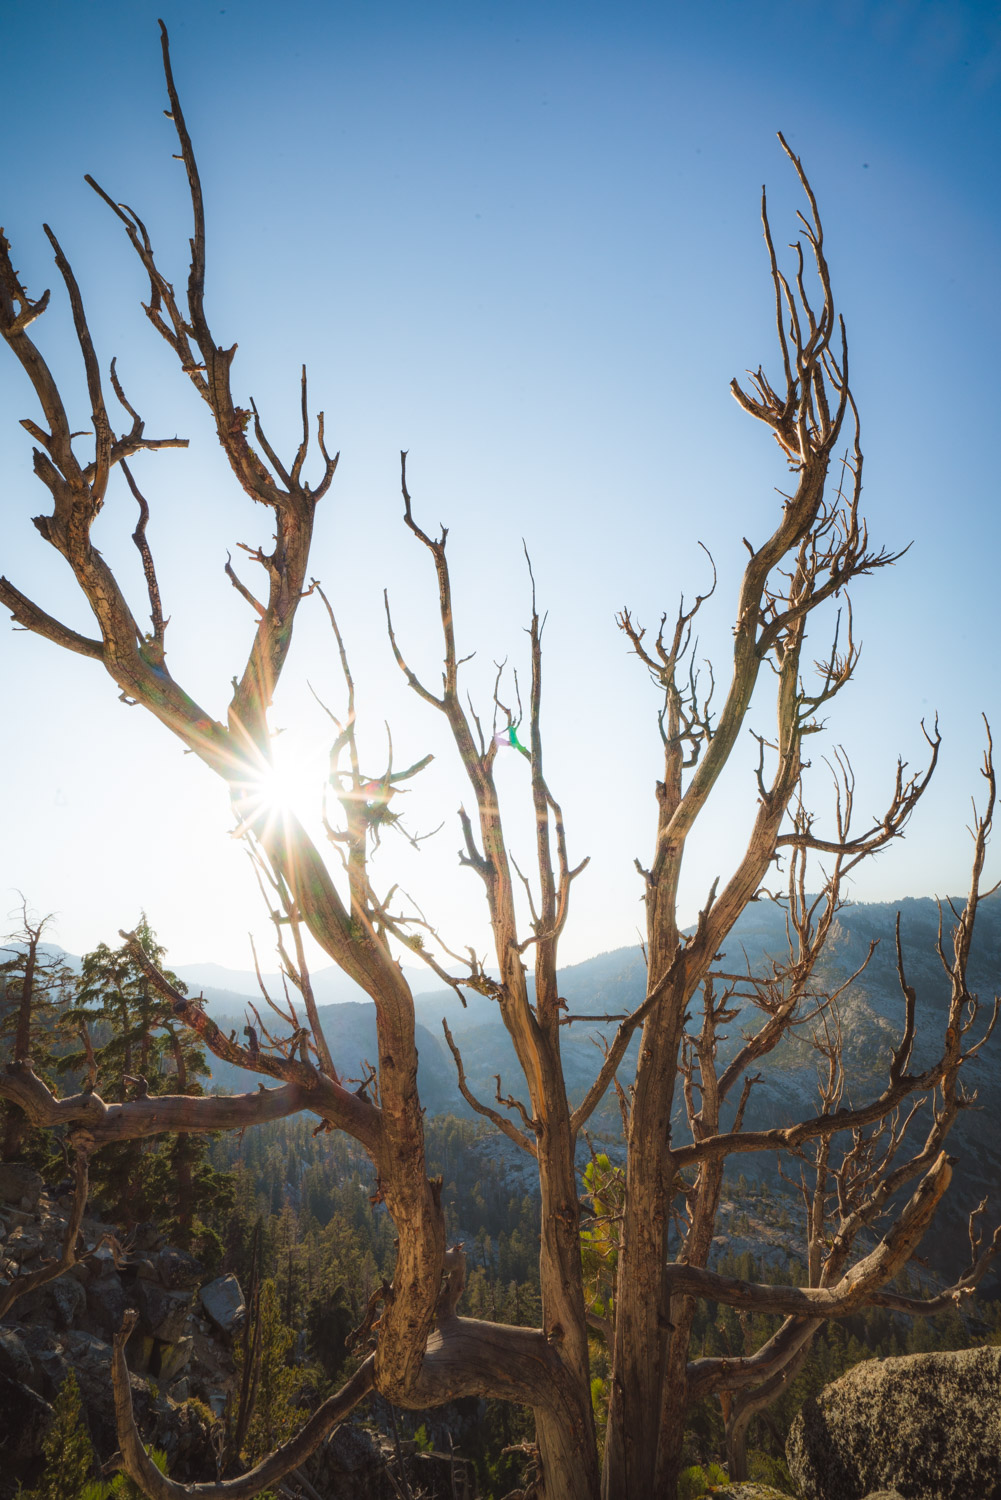
This particular portion of the trail also really reminded me why this area is called Desolation Wilderness. We hiked by vast views of barren, rocky landscapes in the distance that were broken up only by small patches of green trees.
At mile 2.7 we reached the junction of where the Eagle Falls Trail merges with the Bayview Trail, and then another 0.7 miles later we reached the start of the loop section. We decided to head clockwise towards Dicks Lake first, but you could also head right towards the Velmas if you'll be camping on the northern end of Fontanillis.
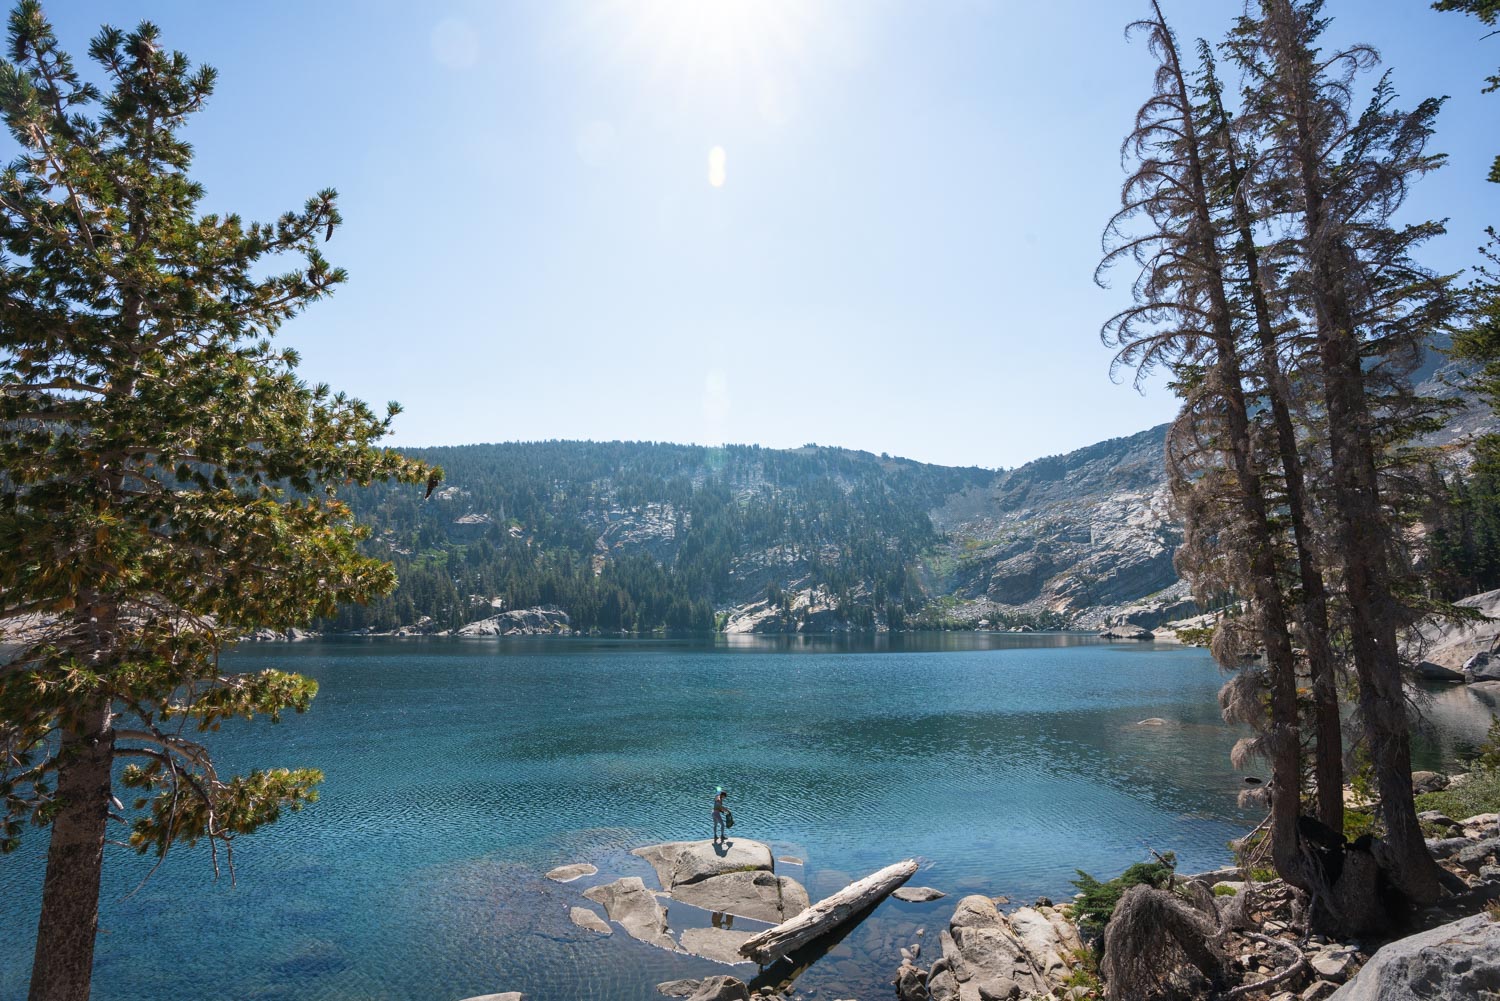
A glassy, no-named lake near the trail

We had one more steep 300 foot climb up the final ridge where we would merge onto the Pacific Crest Trail. By this time the sun had set, so when we reached the top we flew downhill, heading northbound on the PCT towards Dicks Lake. We spotted several tents already set up at the north end of the lake, so we continued on to Fontanillis. The lakes are only separated by 0.3 miles, but we didn't find a place to camp until we hiked up about halfway up the length of the lake.
Although we only hiked 5.1 miles this first day, we were thankful to finally drop our packs at our new home for the weekend. We were even treated to a couple hours of moon-less skies and spotted several shooting stars along with the cloudy milky way.
The next morning we finally got a proper view of our camp site above Fontanillis Lake with Dick's Peak in the background. After pumping some water, eating breakfast, and packing up our daypacks, we started on our journey up to Dicks Peak.

Backcountry essentials - morning coffee!
We backtracked towards Dick's Lake and decided to explore along the edge of Fontanillis Lake. We then crossed the outlet of Dick's Lake and stopped in the trees to enjoy lunch before starting our ascent. From here we stared at the top of Dick's Peak and couldn't believe what were about to tackle.
Click here for my favorite backpacking meals
Dick's Lake definitely seemed to be much more popular with day hikers and backpackers, and we spotted lots of great campsites around the northern and northwestern shore.


On the western shore of Dick's Lake
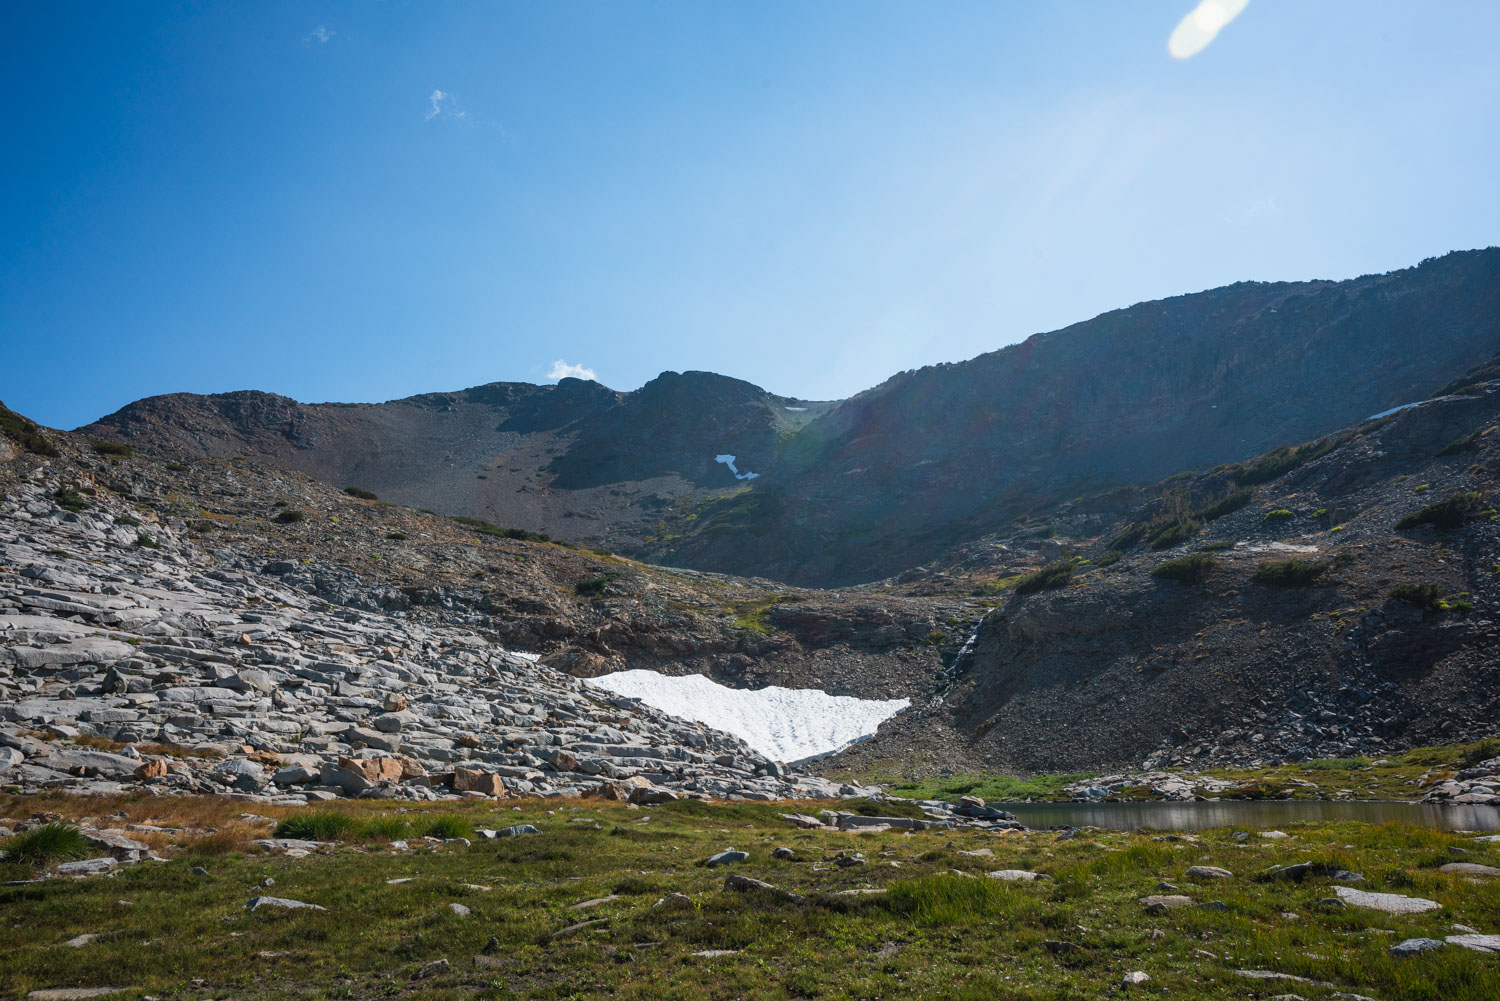
As we headed cross country up towards the peak, we had fun picking out our best route up, and we passed by several un-mapped and un-named lakes and streams on our off-route adventure.

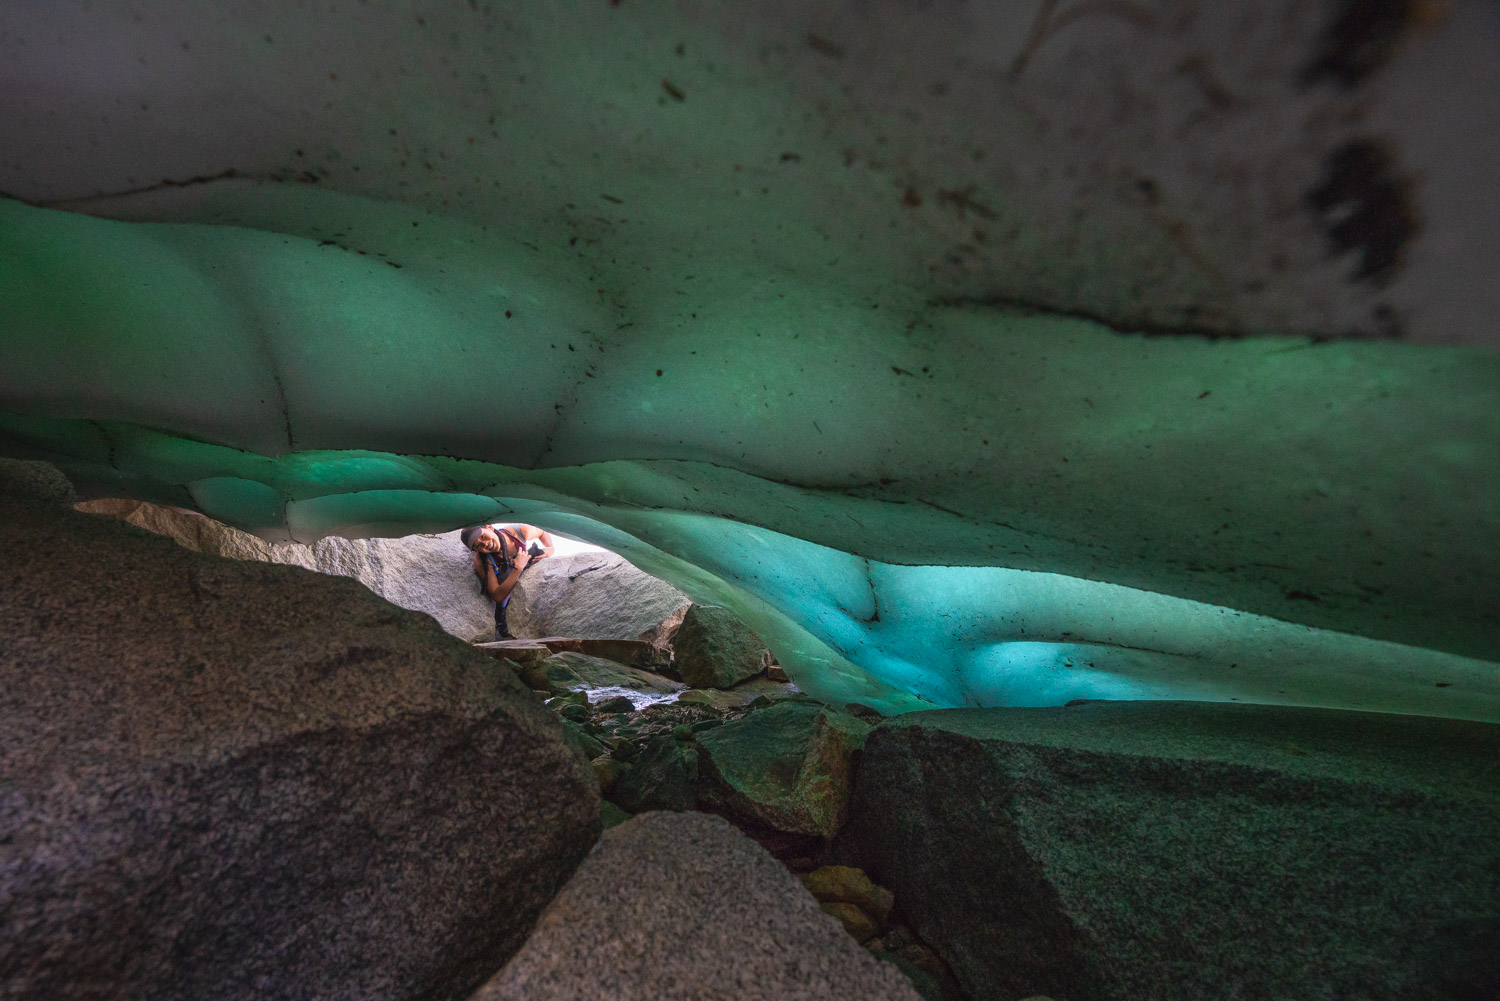
We even happened by several large mounds of snow this late in August, and peaking in one of them revealed a small ice cave.

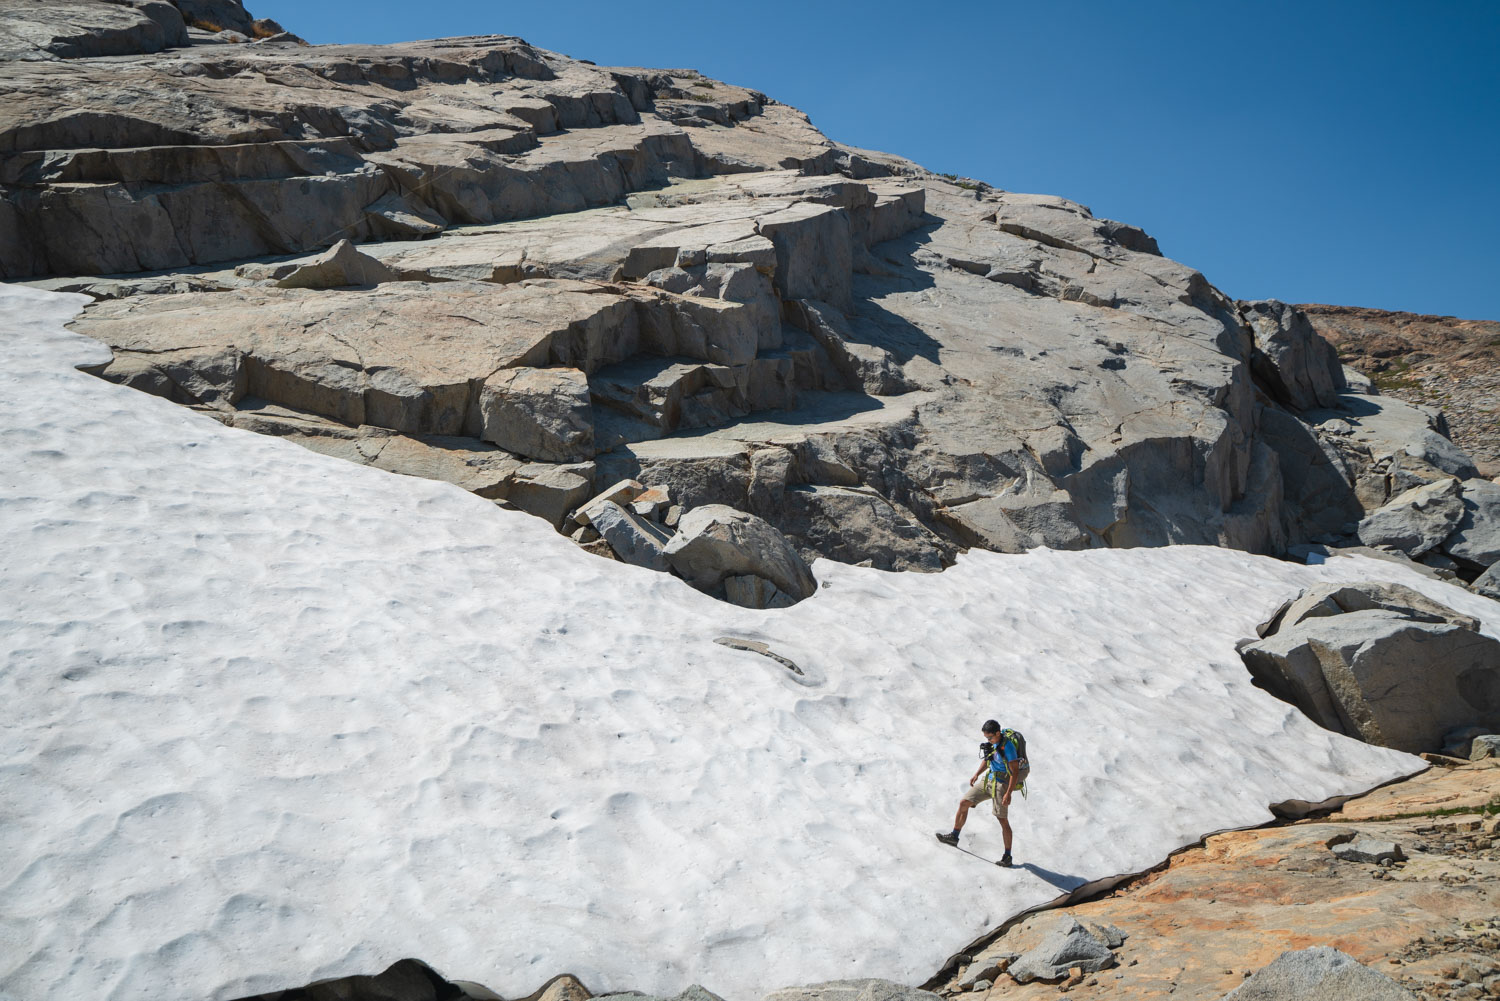
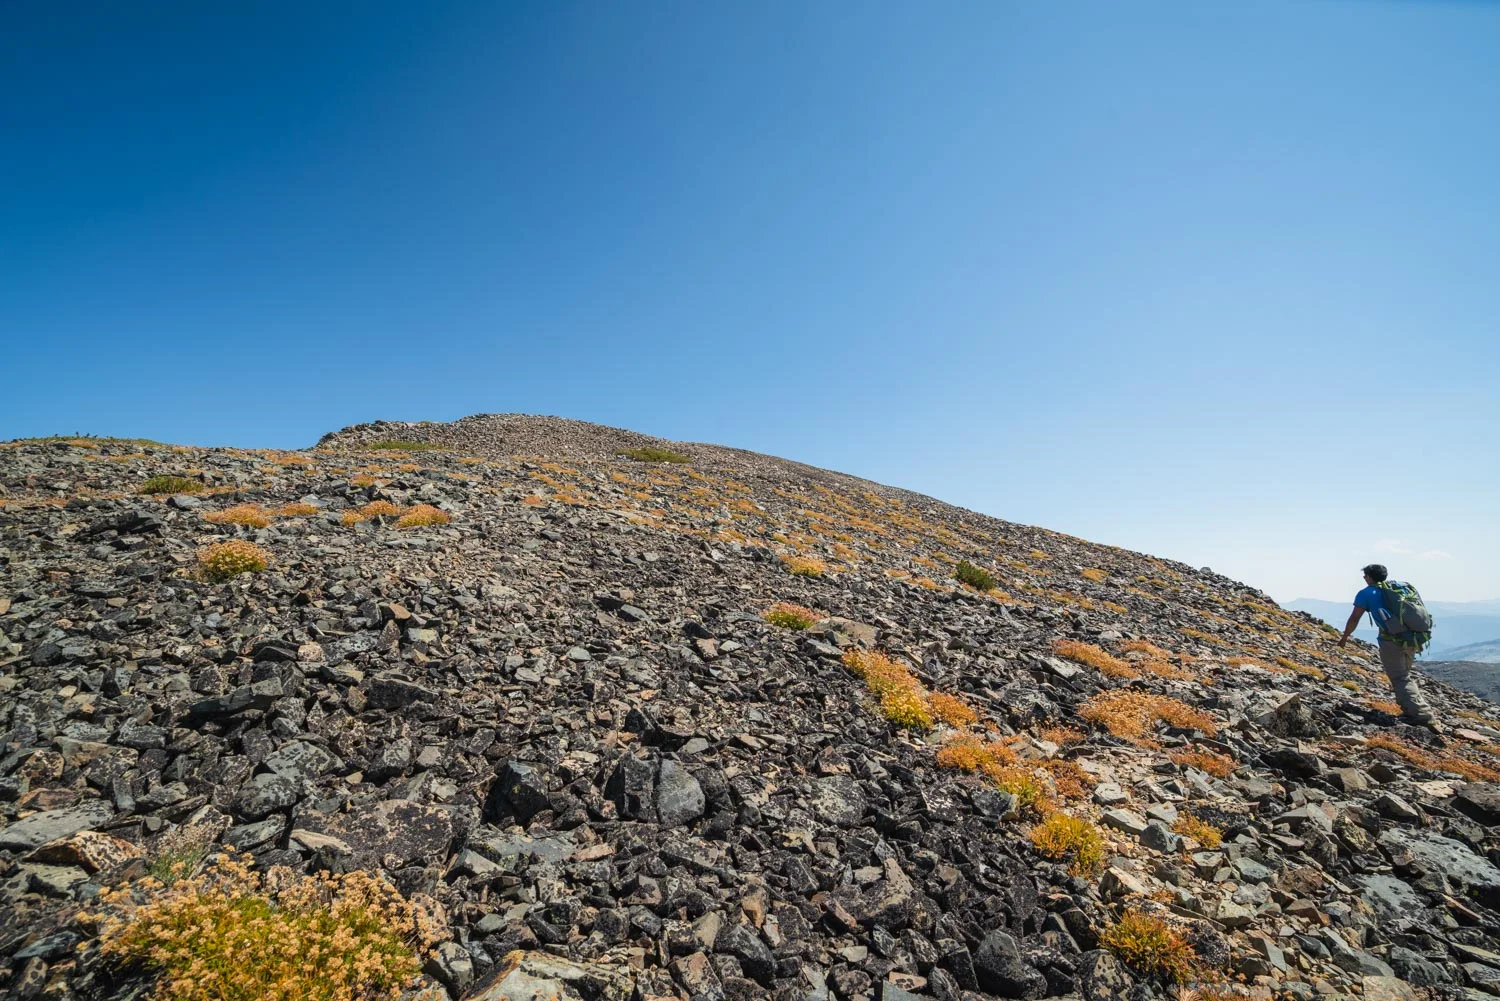
We aimed for a low point on the ridge to the right of the peak, and we found ourselves trying to hike uphill on some pretty rocky shale.
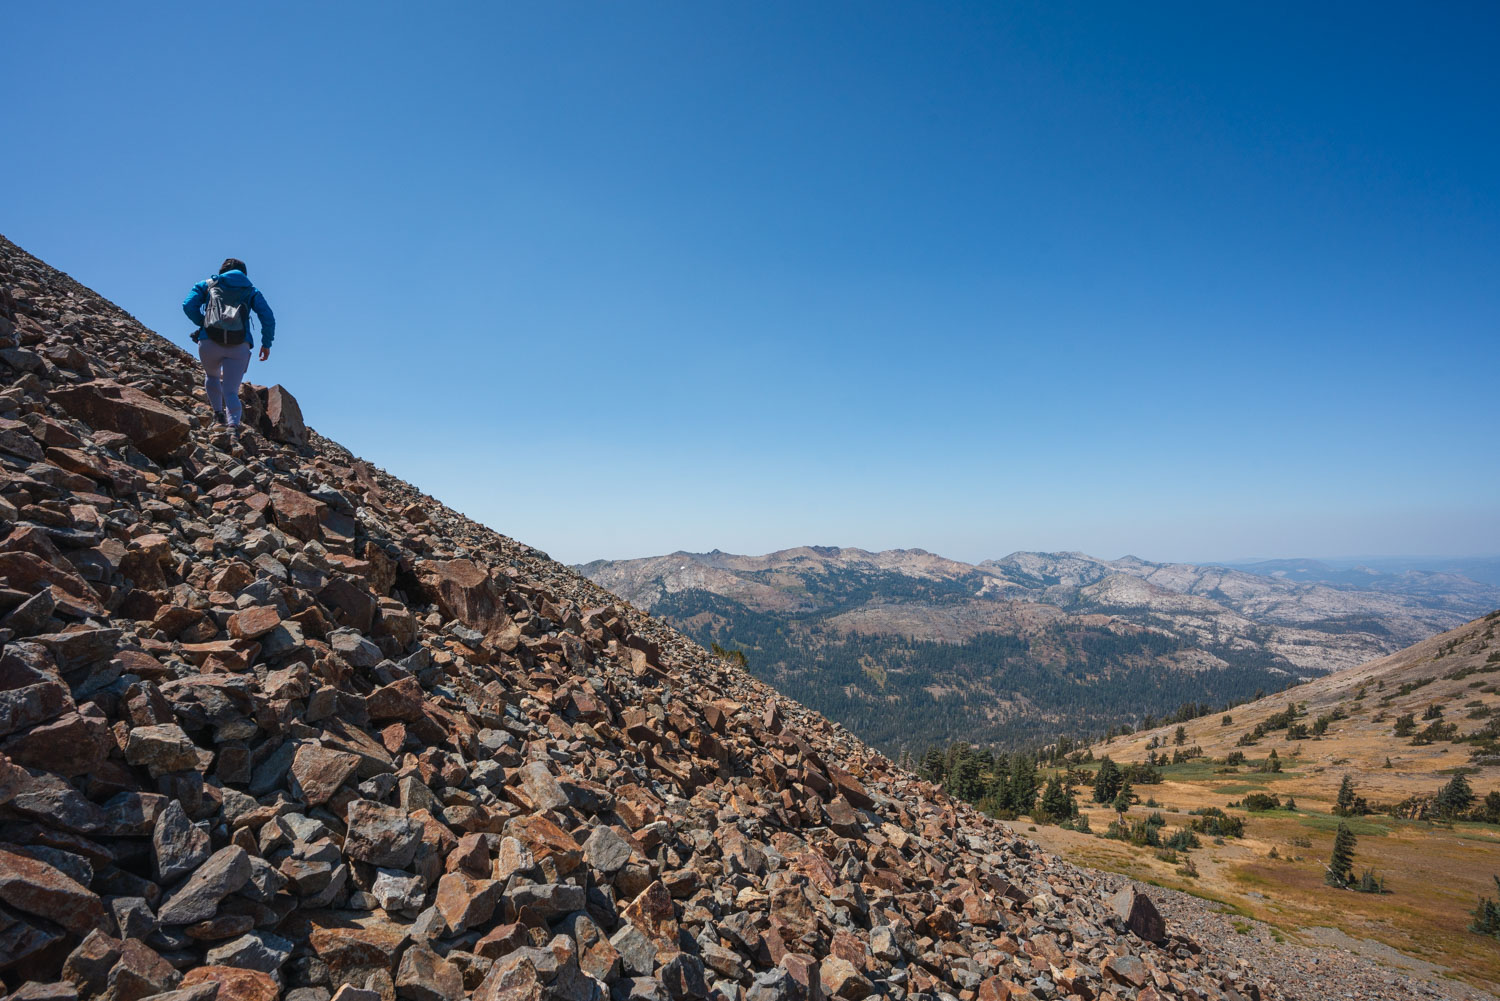

Once we made it to the top of the ridge, we traversed for 0.6 miles until we reached the top of the peak. We passed some openings in the rock that exposed some pretty shear drop offs, but most of the traverse was quite tame. At the summit there was a small rock wall protecting a flat area, which we would later learn, is for anyone with one of the four permitted spots to camp at the peak!


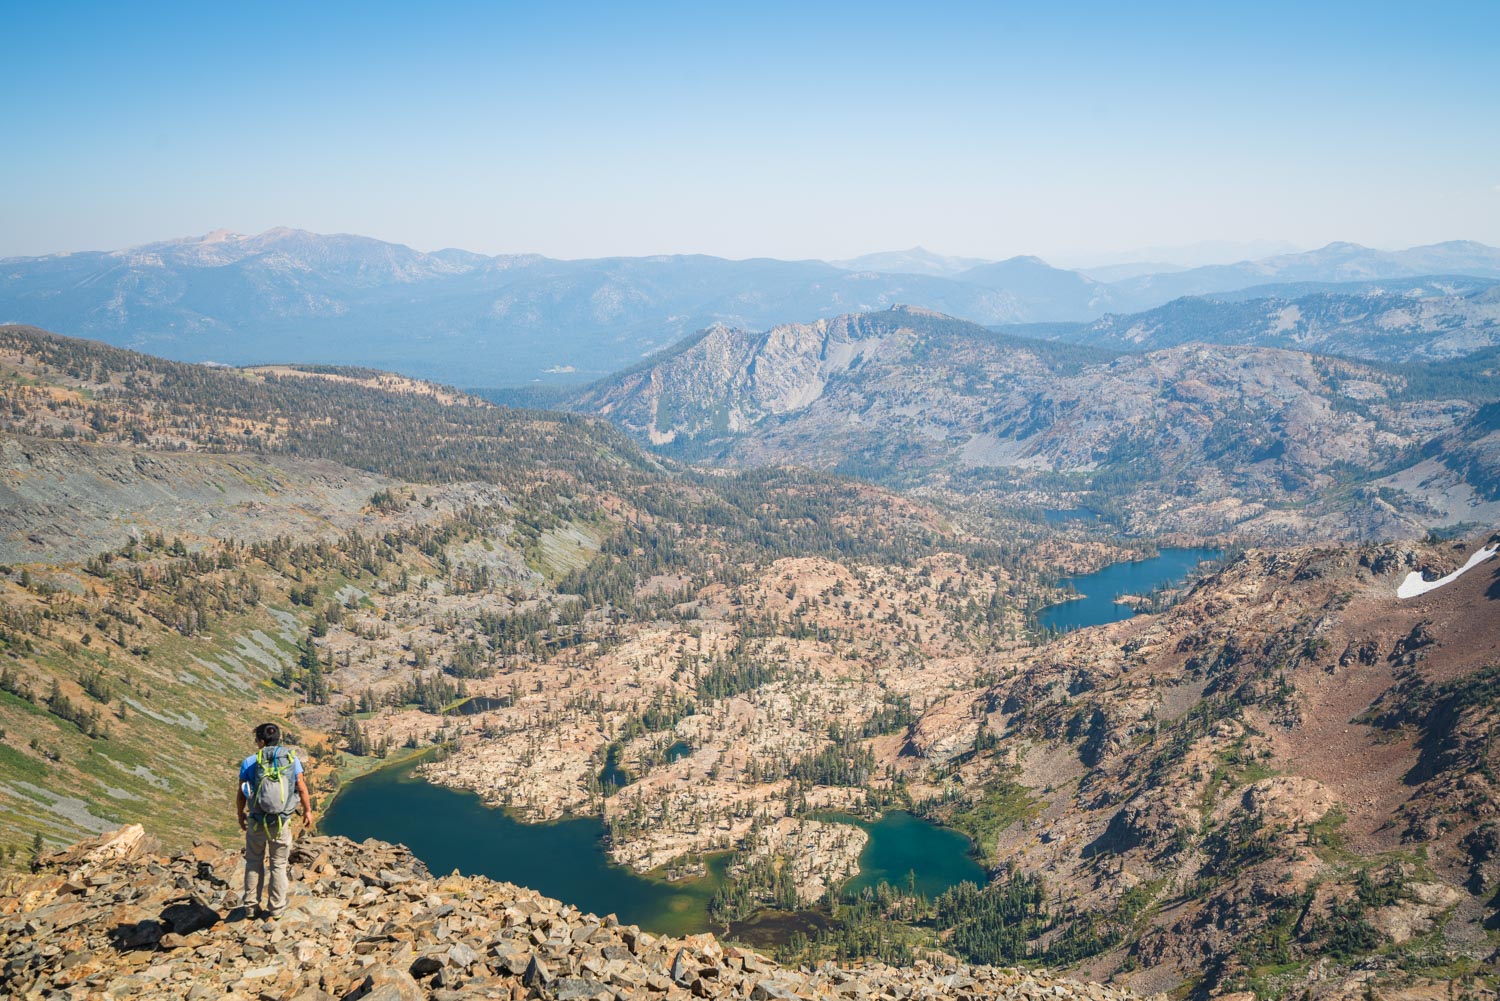
Standing up at 9,974 ft, Dick's Peak is unique in that it sits in the geographic center of Desolation Wilderness. That means that from here, you get 360 degree views of everything in Desolation. We were able to easily spot the east shore of Lake Tahoe along with the tallest ridge line in Desolation across the Aloha Lake Basin. Crazy to think I was on that ridge line only a couple of years ago!
Click here for my summit of Mt. Price in Desolation
I could spot so many lakes from the summit, and I had to look up many of them on the map to so I could remember to plan another trip to visit each of them.
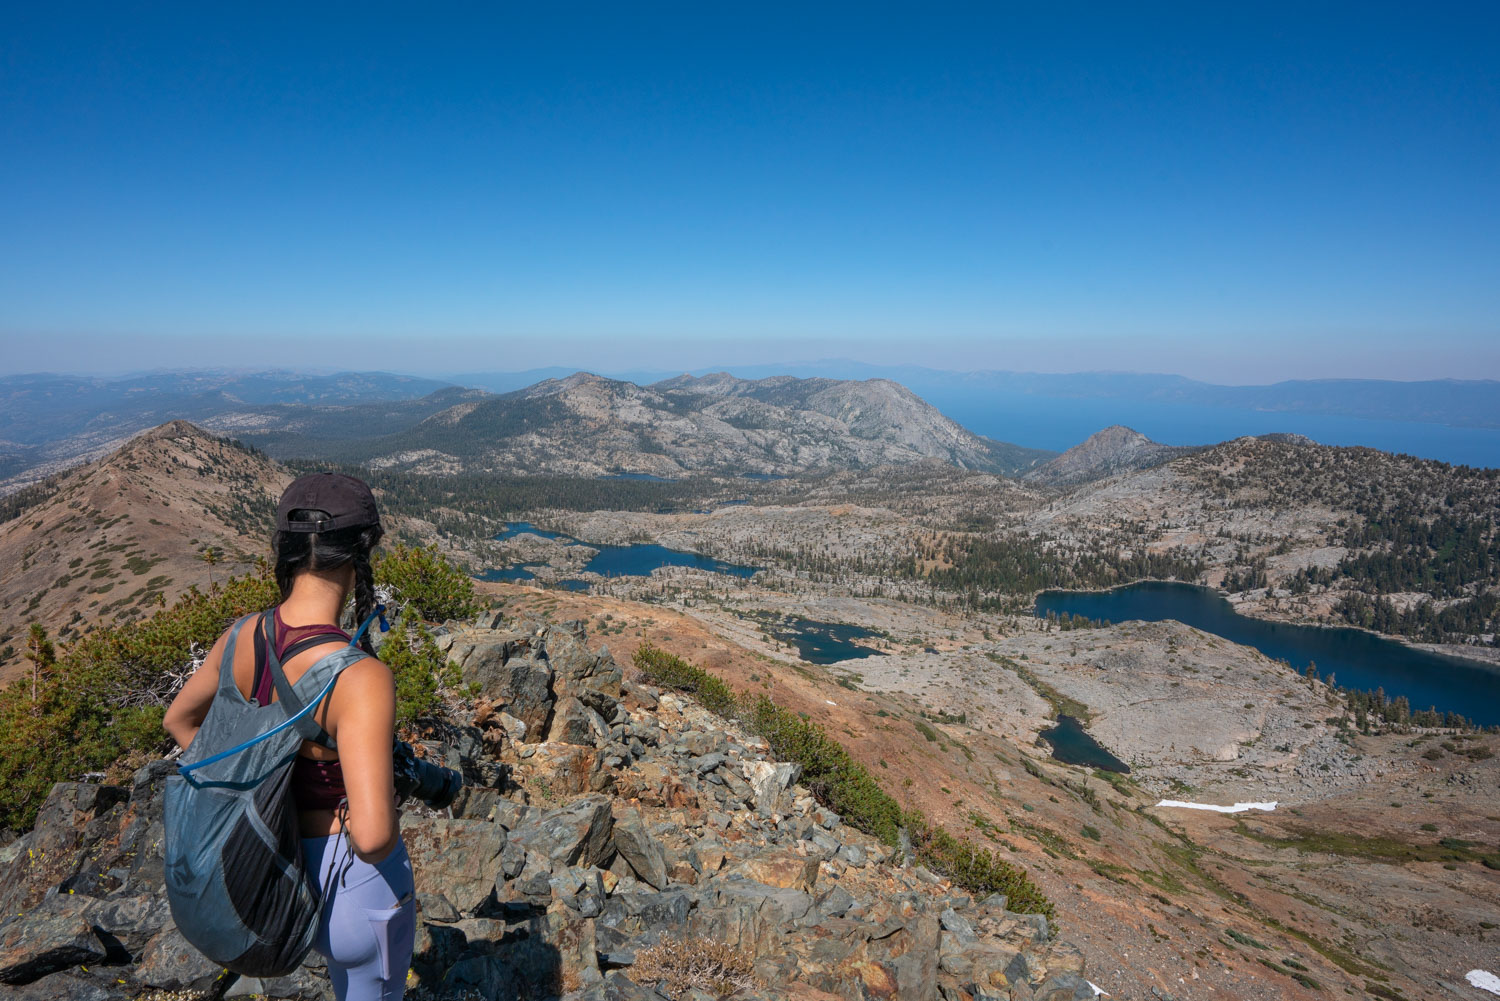

Looking towards the ridge we considered for our descent (Dick's Lake to the left, Half Moon Lake to the right)
We thought about continuing traversing the ridge towards the south end of Dicks Lake, but we saw a faint trail down the face of the mountain and decided to go for it. It was pretty steep, and we each accumulated lots of loose gravel in our shoes, but we had so much fun skidding and sliding down.
At the base of the mountain 15 minutes later, we turned around to look back up at the peak.. we were just up there! We followed a similar path back across the outlet stream and back to our camp site. In total our entire trip that day was under 4.3 miles.
The route we took down (in the peak's shadow) looks steeper than in person!
The rest of the afternoon was spent relaxing and soaking our sore feet in the water.


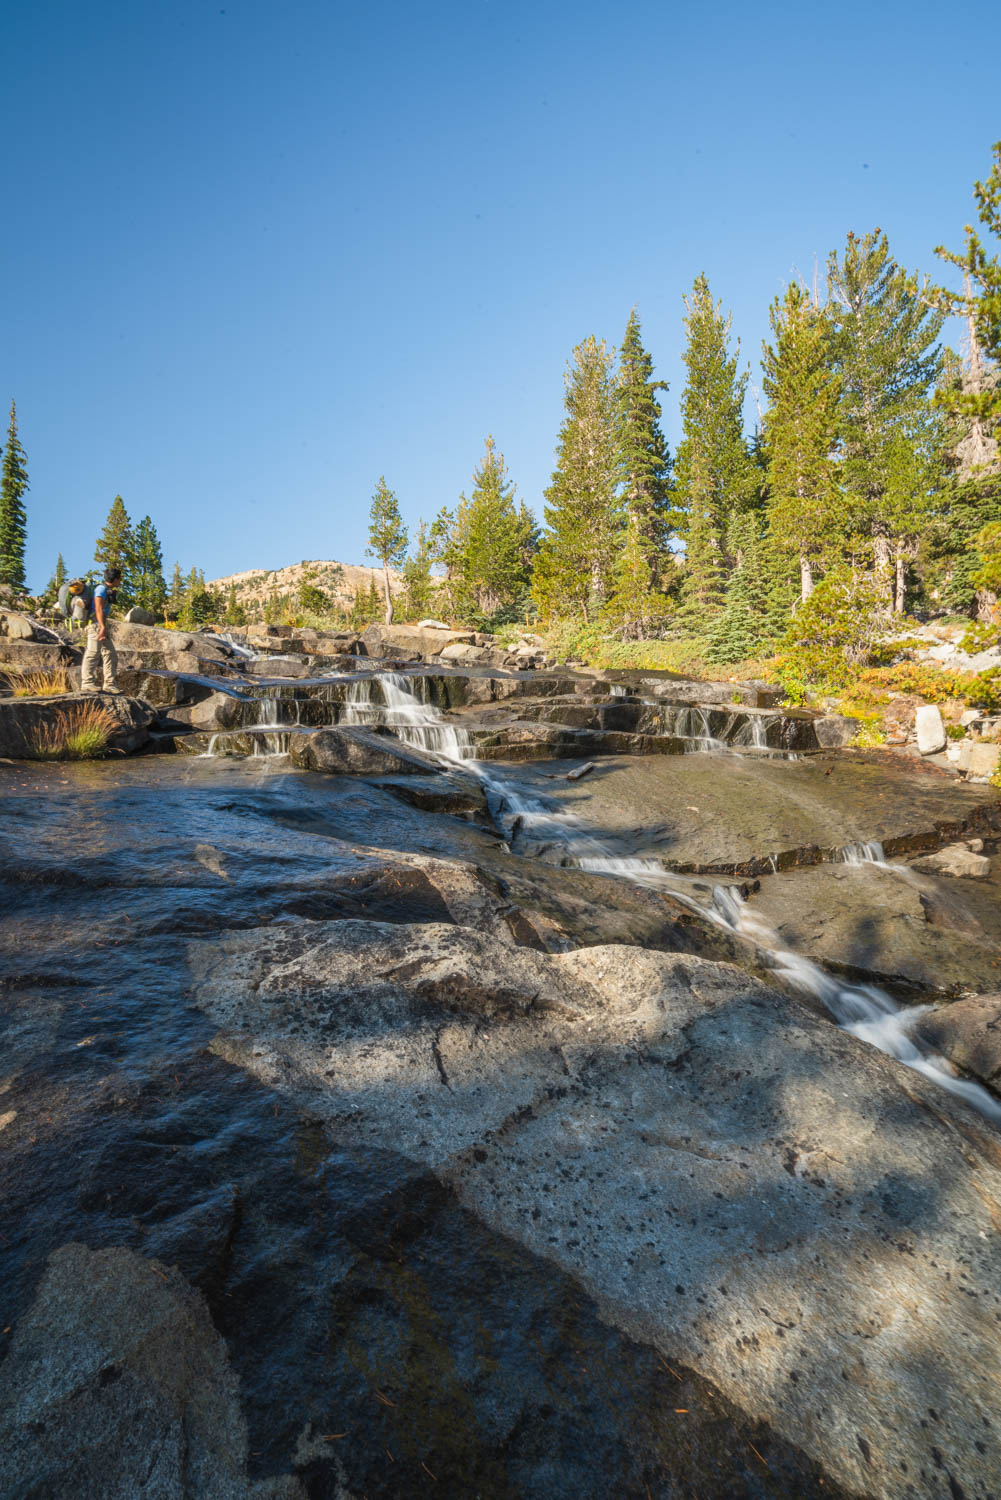
The next morning we started off early by catching sunrise before packing up and heading to Velma Lakes. We continued along the length of Fontanillis until we reached the outlet.


Instead of following the established trail that goes high on a ridge, we followed the outlet stream down a slab portion towards Upper Velma Lakes. The stream cascaded down creating a long, relaxed waterfall, and Velma Lakes looked like a grassy eden in the valley below.
We didn't spot too much wildlife this trip except for several plump and chubby marmots. I don't often see these little guys in the Sierra, but I always get a kick out of them when I spot them on top of rock piles.


Only 0.4 miles from turning off the trail, we reached the shore of Upper Velma Lakes. There were many groups here, so we didn't stay too long to enjoy the calm, glassy reflections. We crossed the outlet and 0.85 miles later we completed the loop and were back on familiar terrain.


Hiking out on a Sunday afternoon of a long weekend, we noticed the trail traffic went from zero on our hike in to a steady stream of people. Especially when we finally saw Lake Tahoe again, there were lots of day hikers out and about enjoying the great views of the lake.
Seeing so many people on the trail only made me appreciate how lucky we were to experience a couple days of quiet solitude only five miles in.

Affiliate disclaimer: please note that this article includes some affiliate links, which means I may earn a small commission on any purchase made - at no additional cost to you. As always, all opinions are my own. Thank you for supporting the work I do to keep creating meaningful content like this for you!
Favorite gear for this adventure