You might have seen photos of Havasupai, an area in the Grand Canyon famous for its unreal turquoise water spilling out over red rocks. Although this won’t be your normal remote, backcountry experience, you will get to camp, hike, and swim in several jaw-dropping waterfalls that attract thousands from all over the world.
Because of Havasu’s unique scenery and limited amenities, this is a popular backpacking trip for beginners or those who are not yet ready to commit to a full on rugged backpacking trip.
(This post has been updated to include my recent trip in October 2018)
Backpacking Trip Info
Dates: Oct. 18 - Oct. 21
Miles: 26 miles
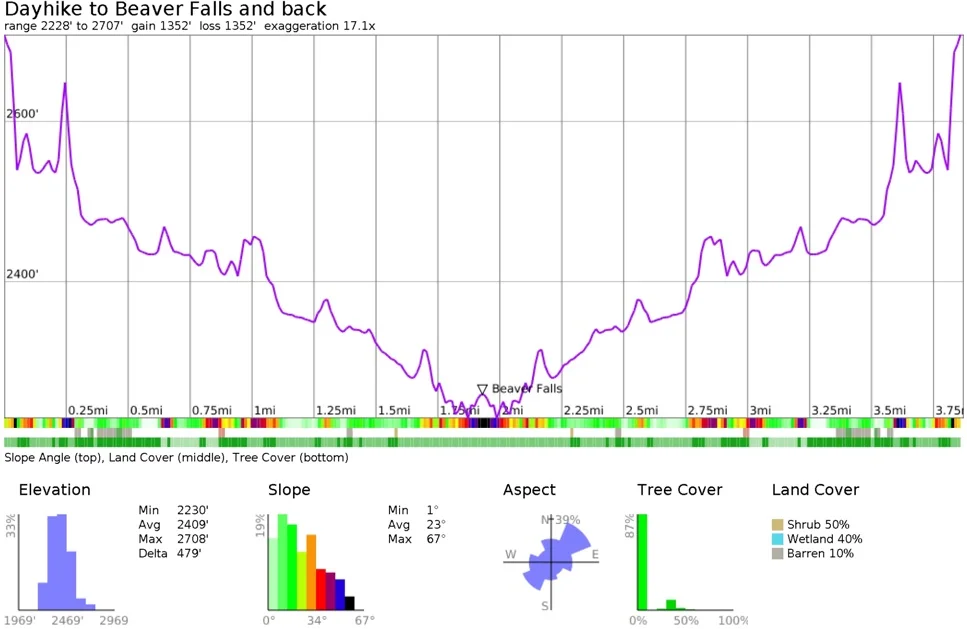
Elevation Change: 3,536 ft (hike to campground), 1,350 ft (hike to Beaver Falls)
Trail Type: Out and back
Trailhead: Google Maps
Cost: ~$390 per person minimum

Trail map for our four day Havasu Backpacking trip, including a day hike down to Beaver Falls from the campground

Permits
Permits can be notoriously expensive and difficult to get.
Cost
When I went in 2012, the permit was $17 per person per night camping fee plus a $40 per person entrance and environmental fee plus a 10% tax. For our two night trip, it cost us $81 per person.
As of 2019, prices have been increased to $100 per person per night (weekday) and $120 per person per night (weekend), with a minimum of 3 nights. This means each person will be paying around $300-$375.
As of 2021, prices now start at $395 per person.
Don’t let these permit prices deter you from backpacking in the future. These are the most expensive permits I’ve ever paid for by at least 10 fold, as normally backpacking permits run about $5 per night per person. The fees go to the Havasupai tribe and cover the environmental costs of maintenance of the bathroom facilities and trails.
Reservations
Formerly on a call system, as of 2019 the Havasupai Tribe have implemented an online reservation system at https://www.havasupaireservations.com. Permits are typically released for the entire season on February 1, 7AM PST
Tips to scoring a permit:
Be sure to create your account beforehand, and have the page loaded and ready to go
Have multiple people in your group attempt to reserve permits, but make sure only one of you books for the group
Plan for several backup dates in case your dates book up and become unavailable
Be flexible with your dates. I’ve gone twice at the end of October, and was still able to swim in the waters!
Normally you can check each day at 8AM Arizona time for any cancellations. As of 2021, they have added a new feature called Purchase Priority that allows you to snag any cancellations for a date if they may occur, for a nonrefundable $10 fee.
Getting There
If flying, you can fly into either Las Vegas (4 hour drive to the trailhead) or Phoenix (4.5 hour drive). We opted to fly into Vegas in the evening, pick up the rental car, then drive straight to the trailhead. You can stay at a hotel in Peach Springs, AZ the night before your hike in, but we opted to just pitch a tent in the gravel parking lot at the trailhead, as we wanted to start hiking in by 7am.
Note: Be very careful driving the final stretch from Peach Springs to the trailhead, as there is a TON of elk. Especially at night, there can be groups on the side of the road, or even directly on the road.
Don’t Forget
There is limited service even driving to the trailhead, so download offline Google Maps of the drive and the hiking area.
Unlike a normal wilderness backpacking trip to the mountains, you’ll want to pack a little differently. Some of my recommended necessities:
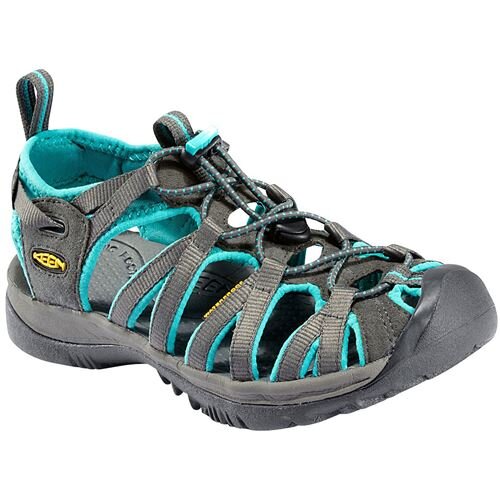
Water sandals - I like closed toe sandals like Keen Whispers, or quick drying hiking shoes like Adidas Voyagers
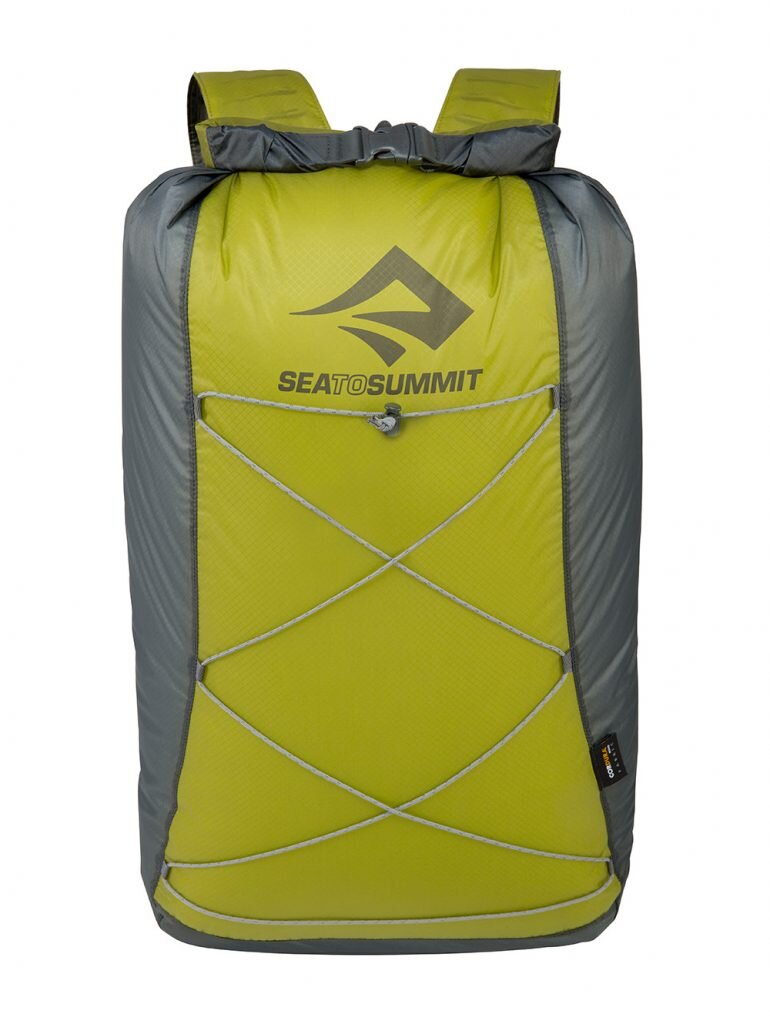
Packable backpack - crucial for day hikes (this Sea to Summit one fits in the palm of your hand!)
Headlamp - my go to is the Black Diamond Spot
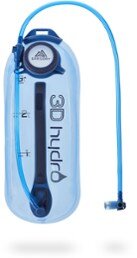
Water bladders - useful for filling up at the water spigot and carrying back to camp (my staple is the 2L Platypus soft bladder)
Inflatables - wouldn’t be a bad idea to bring your own small inflatable to play around in the water. Be sure to pack it out! I’ve used these on several backpacking trips already
Wipes - no showers down here, but I feel just as clean after one of these Wilderness Wipes which are larger than your average baby wipe and also compostable!
Quick dry towel - you know you’ll be swimming in that beautiful water! Opt for something light and portable like this one
Portable charger - useful for charging your phone and camera for the several days down there. This Anker one is my go to for all backpacking trips.
The Backpacking Trip
Once you’ve made it to the trailhead, congratulations! Now is the fun part.
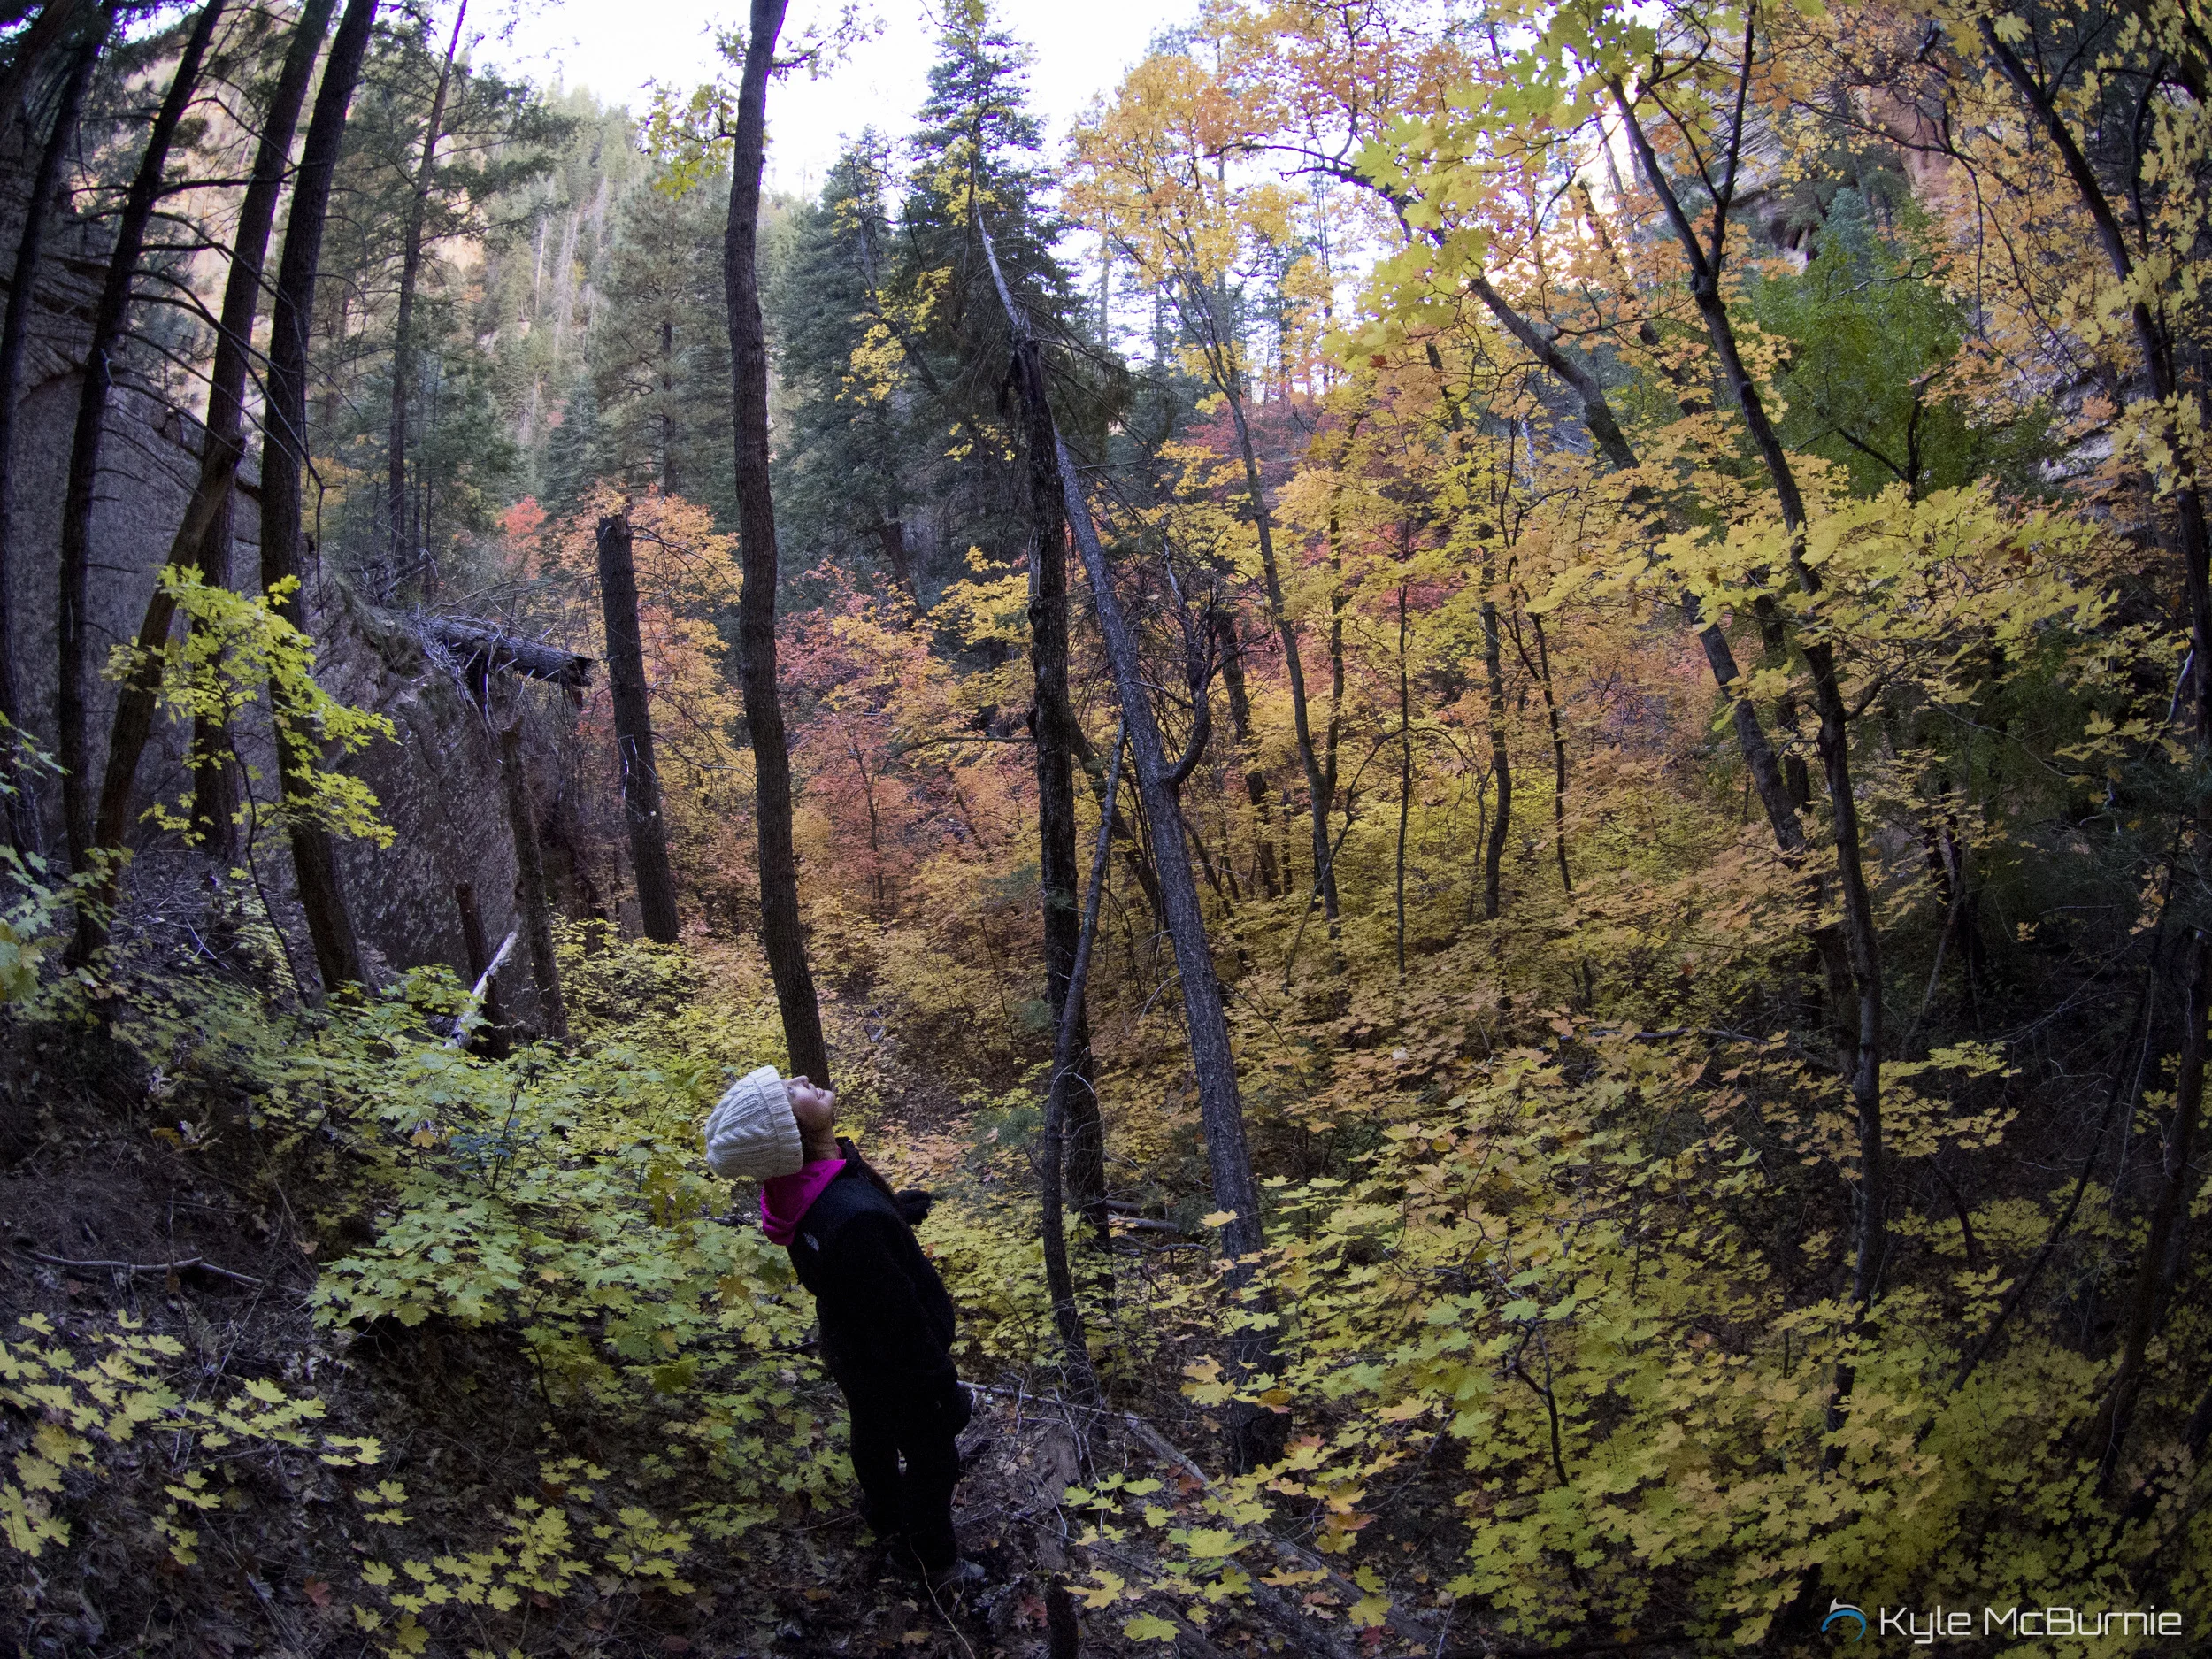
Overall, the hike in is not particularly scenic and can be long for beginner hikers, but you’ll forget all of that once you start to see the water and get down to the bottom. Both times when we visited in October, it can be quite cold at the start of the trailhead (5,000 ft elevation) early in the morning, so be prepared to bring layers! Once we got down to the bottom, it had warmed up quite nicely. For a feel of what Havasu Falls is like, check out this video Kyle made:
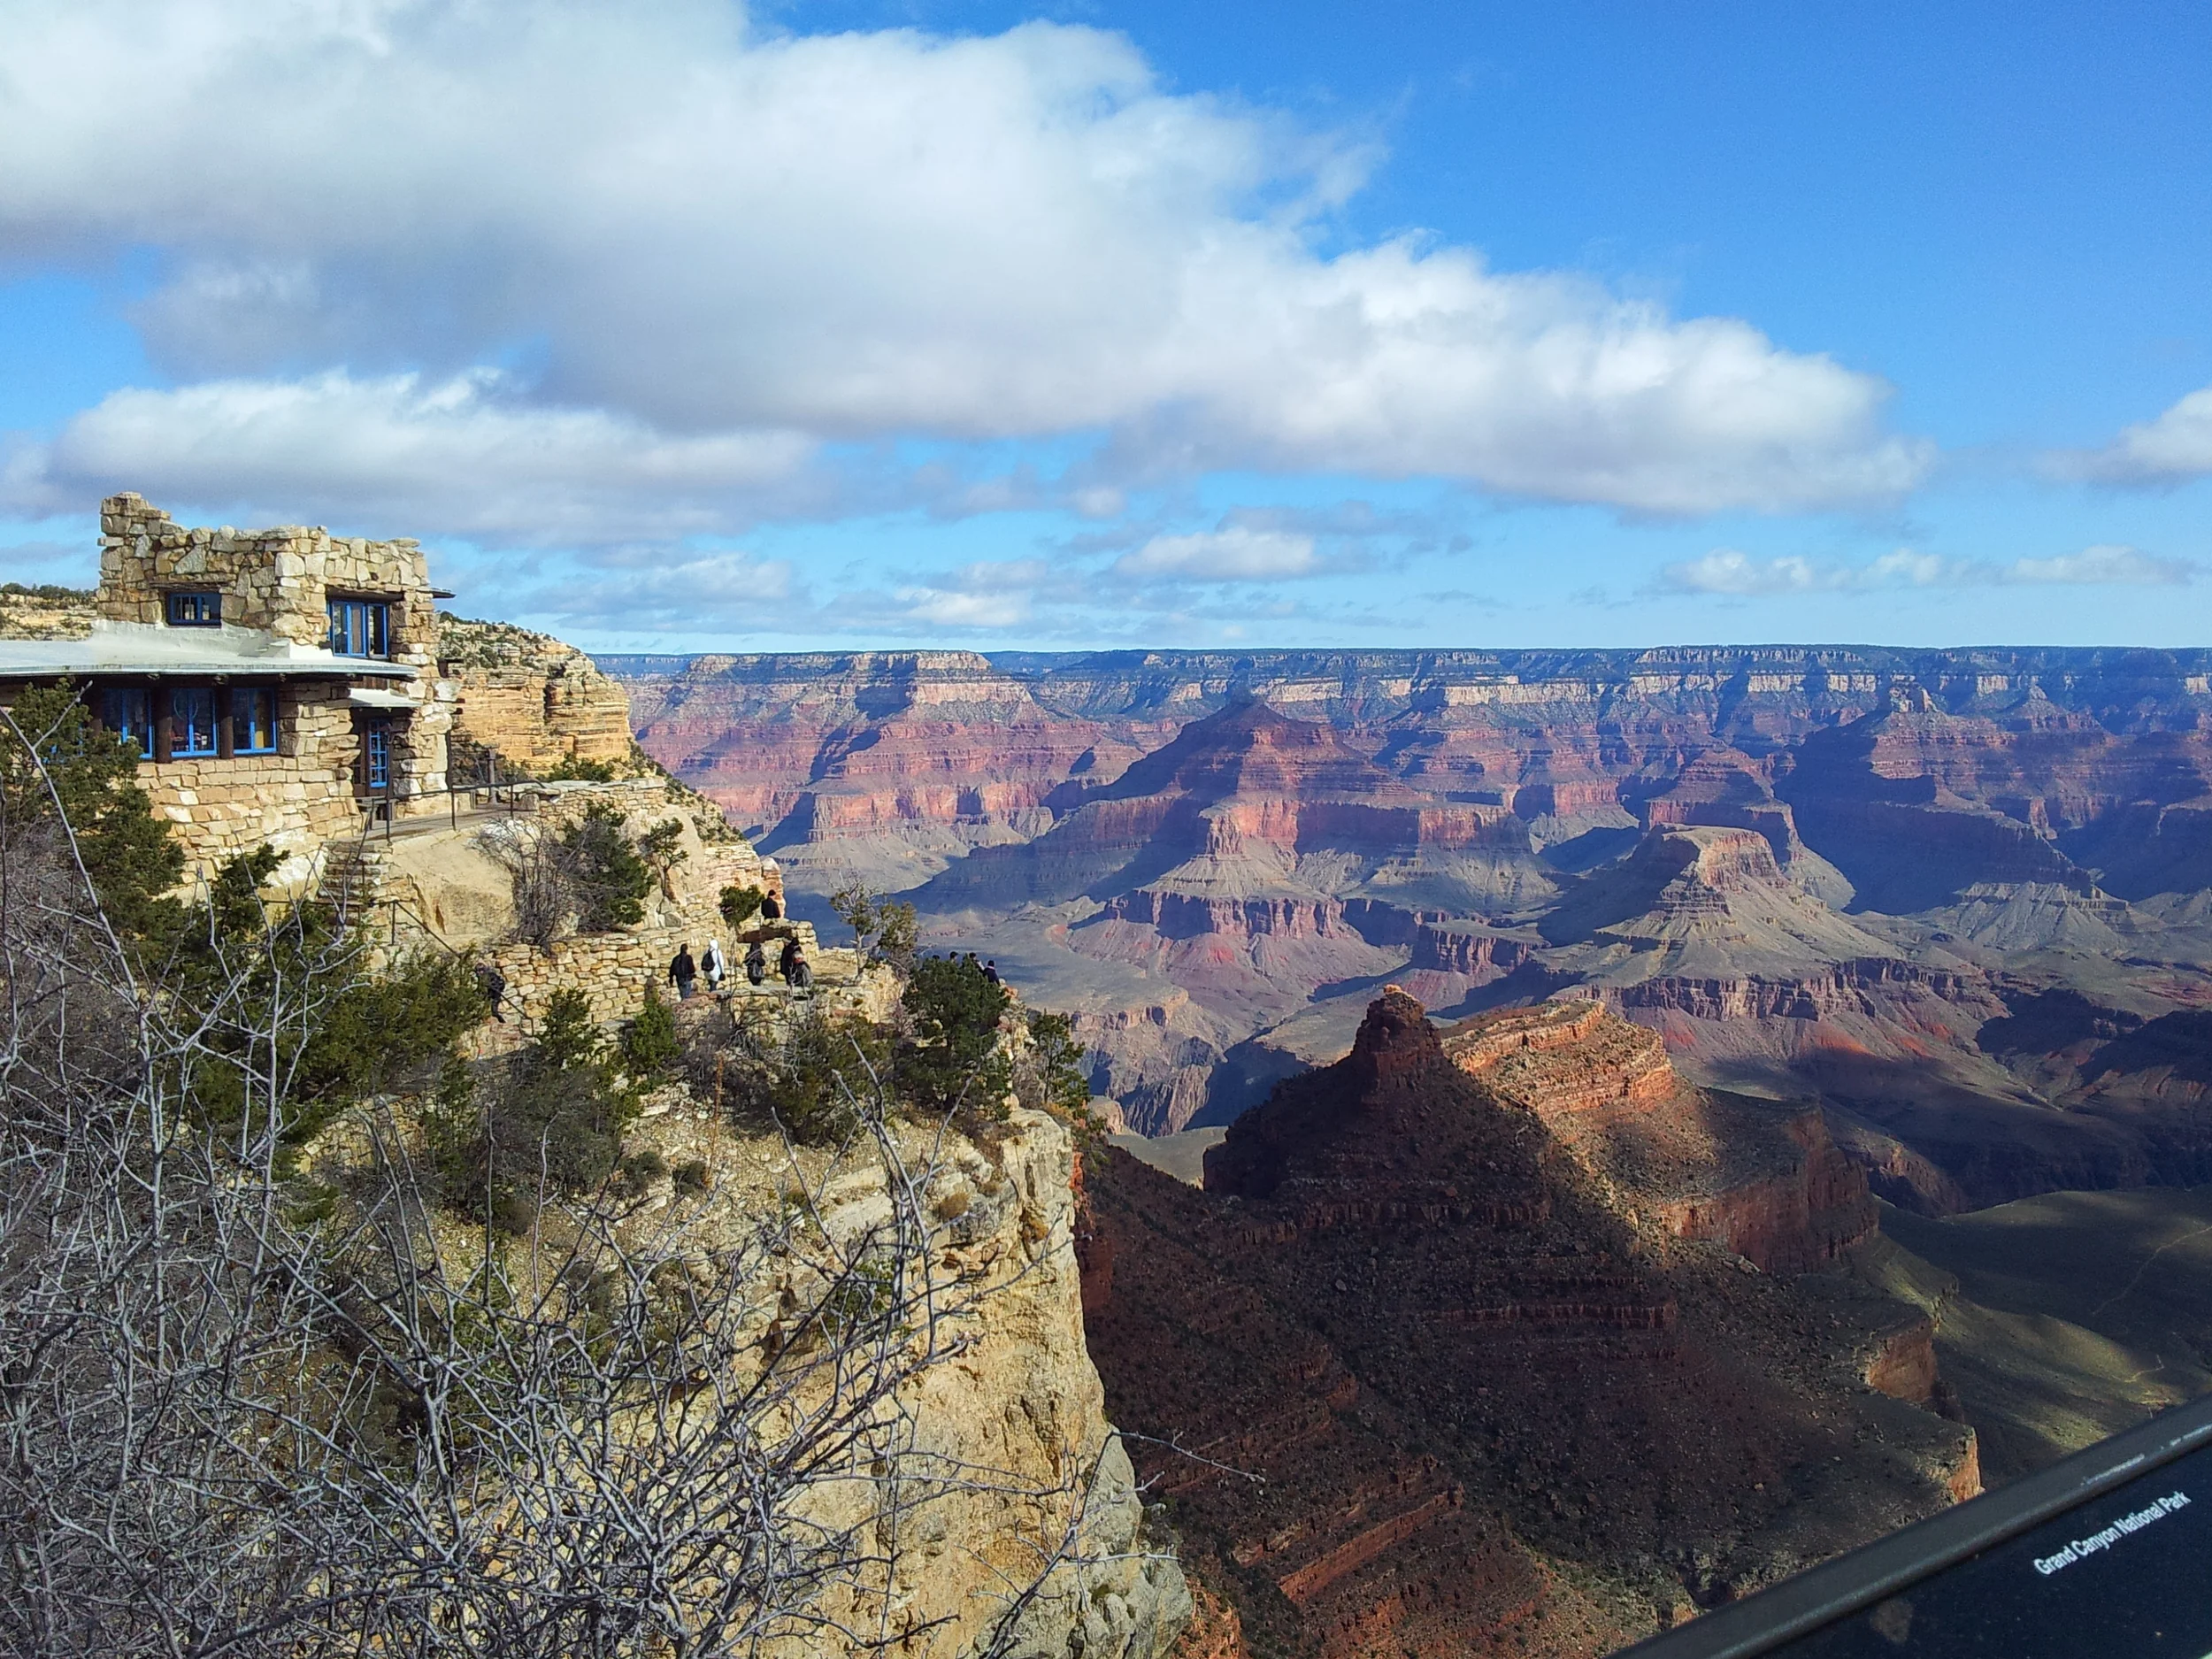
The beginning of the trail is the steepest, descending directly onto switchbacks down the side of the canyon wall. Get a good glimpse of the valley ahead of you, because you’ll be hiking down to the very bottom!

The view of the canyon on the hike down after the steep switchbacks
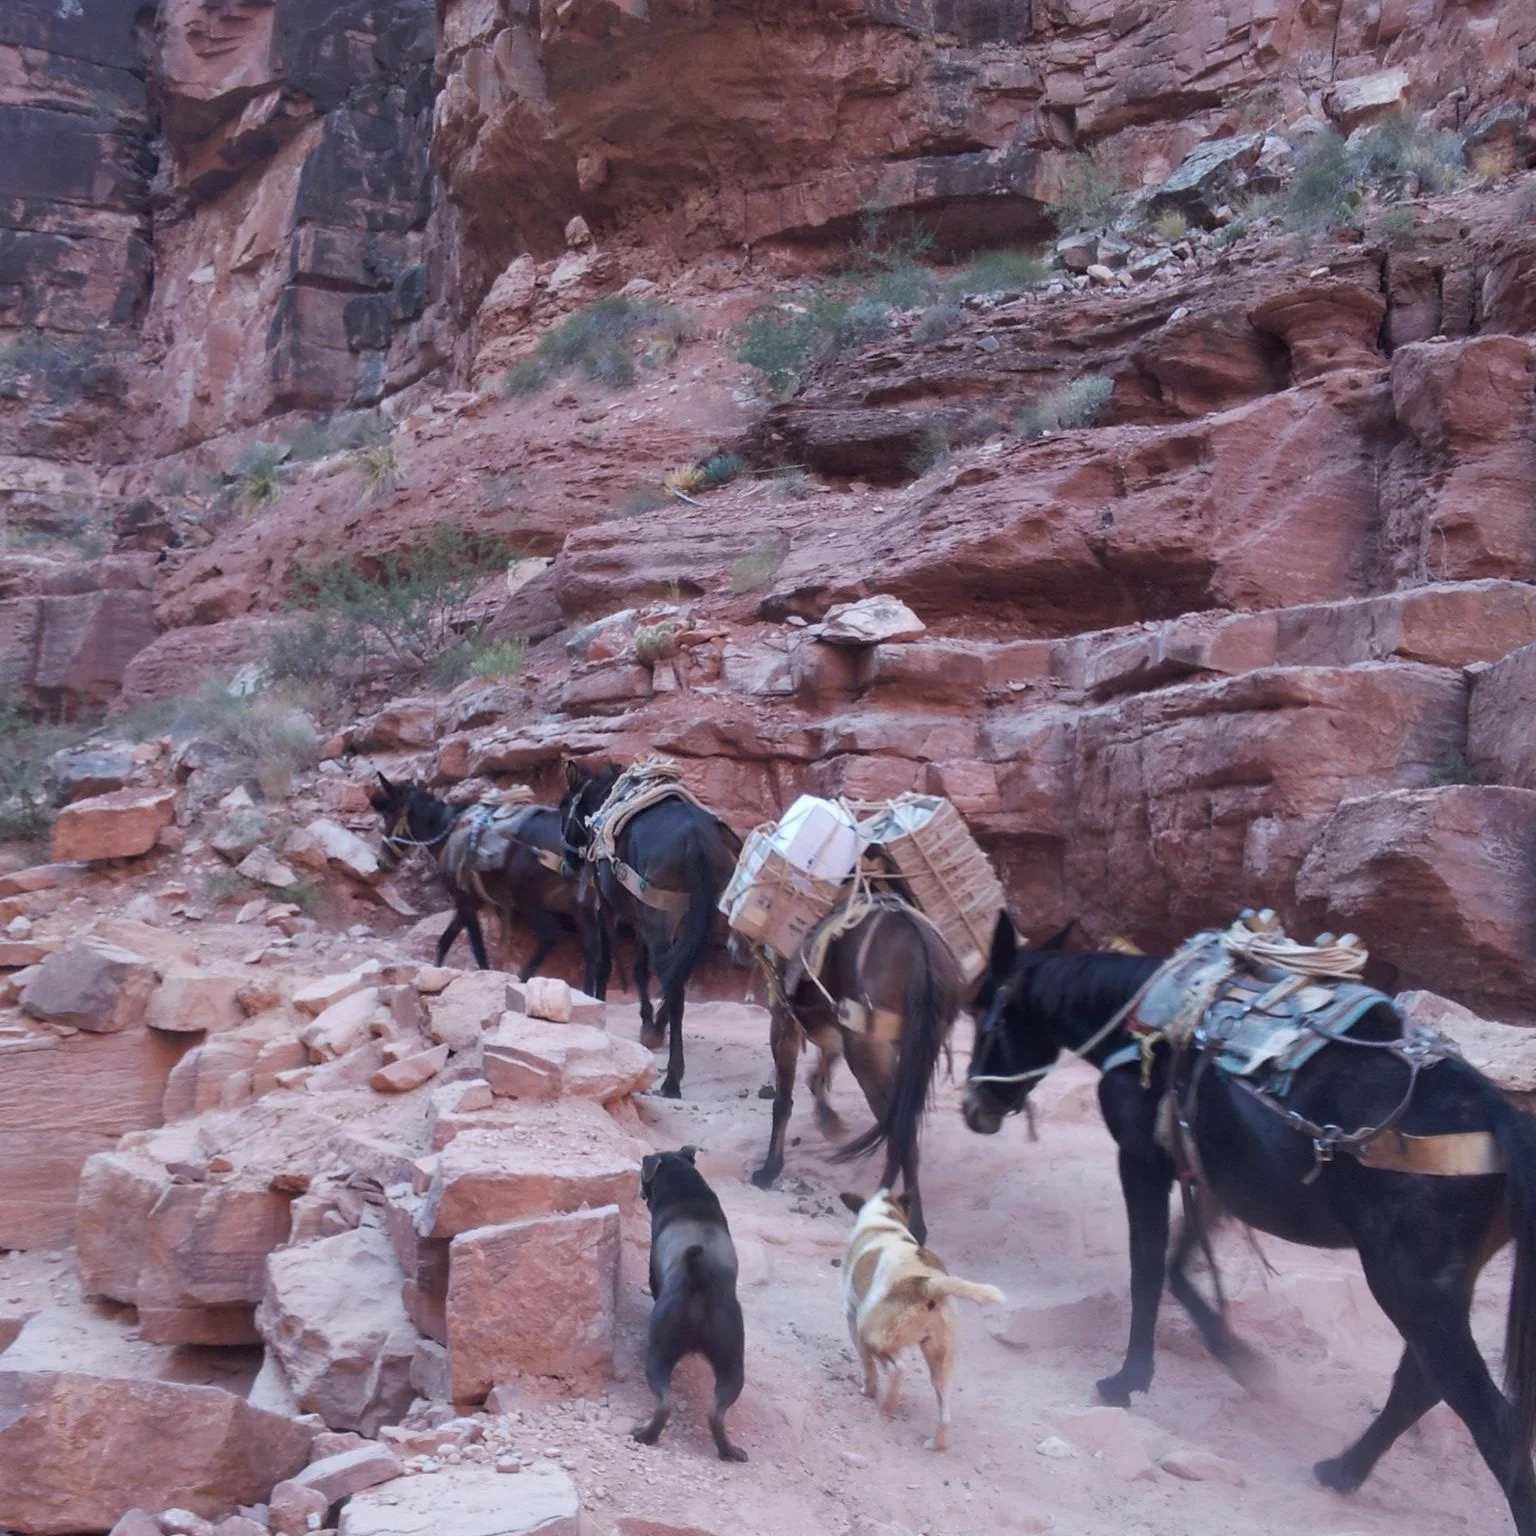
A train of donkeys being corralled by their owner's dogs
It's an eight mile journey down to the village of Supai village (population of 450), and then another two miles to the campground.
The trail is very exposed and dusty, and we frequently had to pull to the side to let mule trains carrying supplies and people pass by. I'd suggest pulling over to the canyon wall side when letting the horses pass because they can easily knock you over the side of the cliff!
Once we got to the bottom, the trail was quite flat, and shade could be found under the tall canyon walls. The trail can get soft and sandy at times, which adds an additional challenge when you have a 30 pound backpack on!

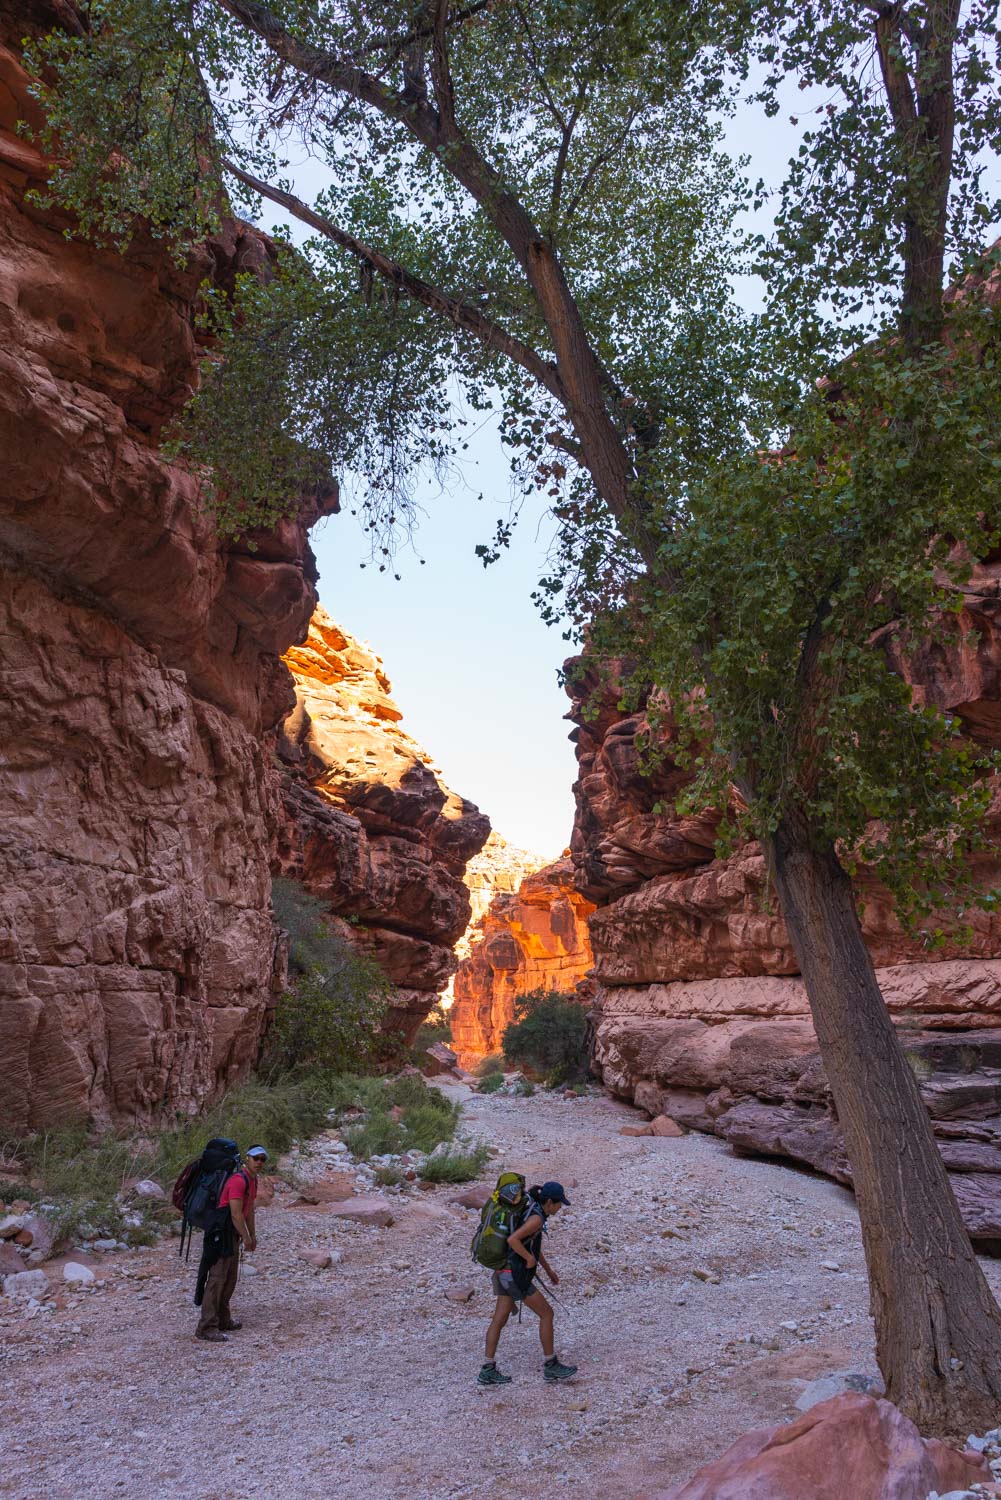
Eventually we started hearing the river. It was so refreshing to see after hiking 7 miles in the hot dusty canyon, and the water had the most interesting unique blue tint.
I was so relieved to reach the village, and my legs were quite tired from hiking downhill so many miles. I loved seeing how the people of Supai lived, what a gorgeous canyon to call home. They have a few cafes you can eat at (try the freshly fried frybread!), as well as a market you can buy supplies or groceries from. Don’t forget to stop by the permit office to check in and pickup your wristbands.

The views of the rock walls around the village

The village of Supai was preparing for Halloween at the time
With 2 more miles still to go till the campground, we followed the river and passed by numerous waterfalls including Navajo Falls, Rock Falls, and Havasu Falls.
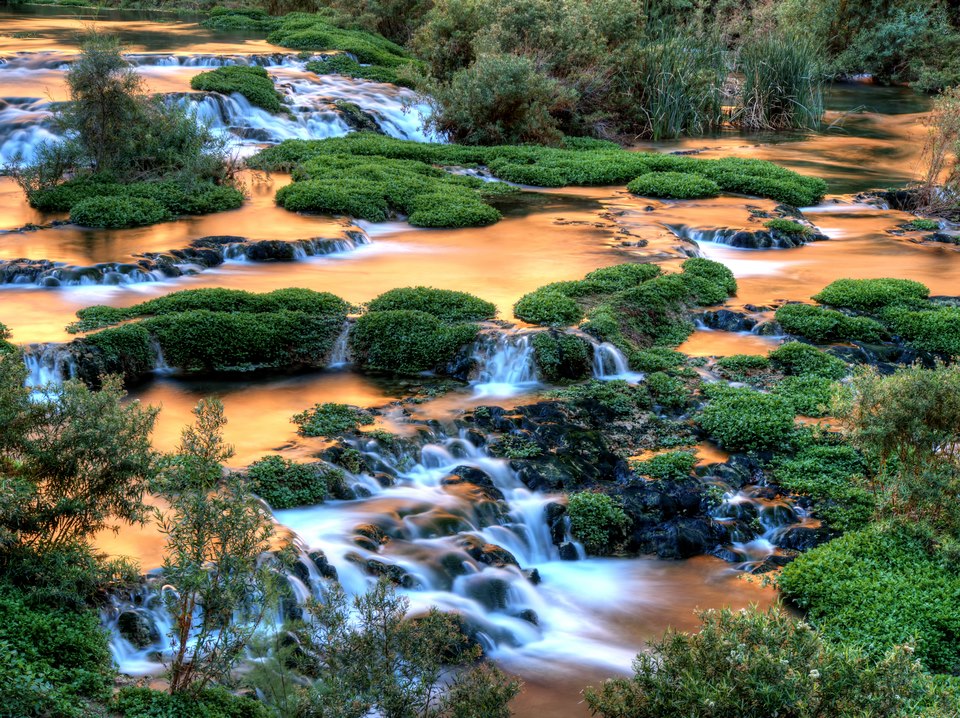
A picture of the setting sky colors reflecting in the pools of Navajo Falls

Fifty Foot Falls below Navajo Falls

0.25 miles later we reached the top of Havasu Falls. We decided to just pass by since it was getting dark, but we promised to return the following day. Another 1/8 of a mile later, we finally arrived to the campground right after the sunset and had quite a bit of trouble finding a camp spot.

There are no designated sites, and some people ended up pitching a tent wherever there was a flat area of dirt. We ended up walking through the entire campground all the way to Mooney Falls and pitched our tent at the top less than three feet from three other tents. Feel free to carefully cross the stream, as there are more campsites on the islands in the middle of the creek and on the other side.
The bathrooms throughout the campground were decently nice - they were raised log cabins complete with toilet paper and hand sanitizer. Since the campground was so packed that night, there was always a line for the bathroom, even though there were three stalls per structure.
However, when we woke up we were astonished at our view. Since we arrived in the dark, we had no idea how tall Mooney falls was and how close we camped to the edge! It was beautiful as the sun hit the 200 foot waterfall and created rainbows that bounced off the red canyon walls.

Our view of Mooney Falls from our camp spot.
We made breakfast and packed up to find a better camp spot since most people left that day. We had many great spots to choose from, and we settled for one that was close to the bathrooms and isolated on a little island (we had to cross wooden foot bridges to get to our site!)
Click here to read more about my favorite meals while backpacking

Our second night's camp spot right by one of the turquoise rivers that flow through the campgrounds
We then laced up our hiking boots and headed to climb down Mooney Falls. It was about 0.5 miles from the beginning of the campground to Mooney Falls, and the hike down was slightly treacherous since the mist from the falls would make the steep rocks even more slippery. On a crowded day you can expect the one way trail to get blocked up, since you have to wait for people to climb up before you can climb down at some parts.

Emerging from a cave on the hike down Mooney Falls

Climbing down the chains and slipper rock to get to the bottom
Once at the bottom, the mist and wind created by the powerful waterfall was so refreshing. We followed the creek and occasionally turned around to look at the spectacular view.

Mooney Falls and the mini cascades it creates downstream
We explored this area for a little and even hiked up the stream to find a rope swing and small cave filled with green ferns!


There were a couple stream crossings where we easily crossed in our water sandals. The water was so warm compared to the frigid alpine water I was used to. It was fun to choose our own path that kept criss crossing all up the valley. We eventually reached an opening of the canyon filled with bushes and ivy that looked straight out of Jurassic Park, and found another fun rope swing.

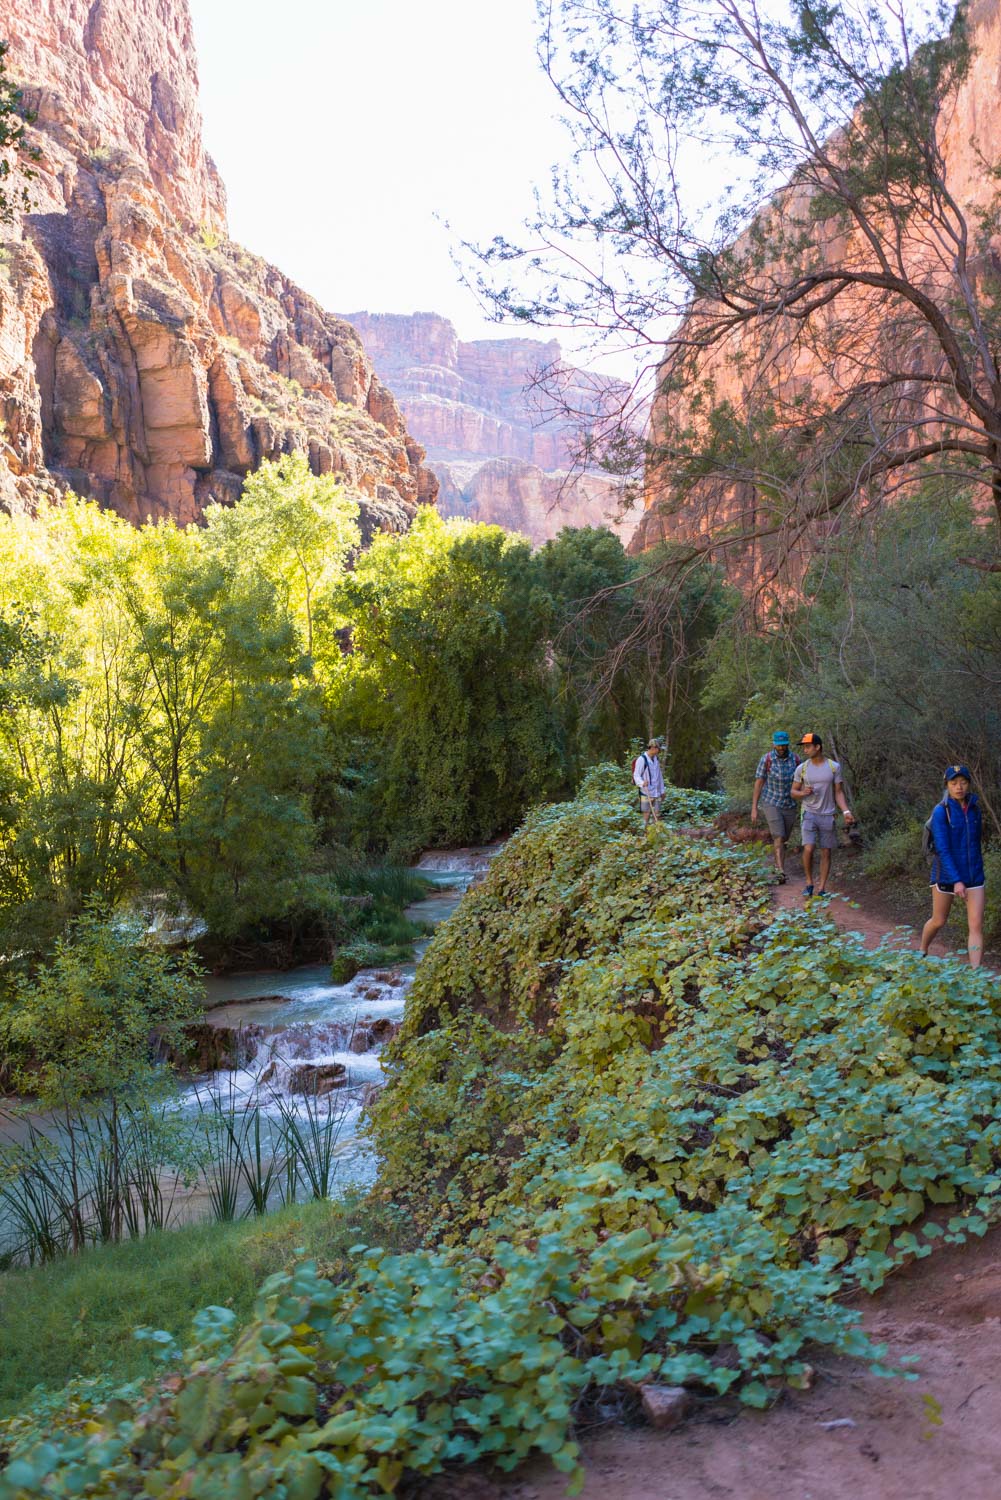

The trail had a few short ladders/ropes to help you up some dusty cliffs but the trail was pretty easy since we were following the creek downstream.

The ladders and aquamarine waters made for a unique and fun hike
After three miles from the base of Mooney Falls, we finally reached Beaver Falls, a gorgeous cascading series of waterfalls.

This is the final destination for 90% of the day hikers. If you’d like, you can continue on the trail and hike all the way down to the confluence and see where the turquoise water mixes with the murky brown of the Colorado River. For this you’ll want to get an early start, and pick a time to turnaround even if you haven’t made it to the end, as this section of the trail can be more risky in the dark.
On your second free day, you can spend the day swimming and exploring Havasu Falls and Navajo Falls.

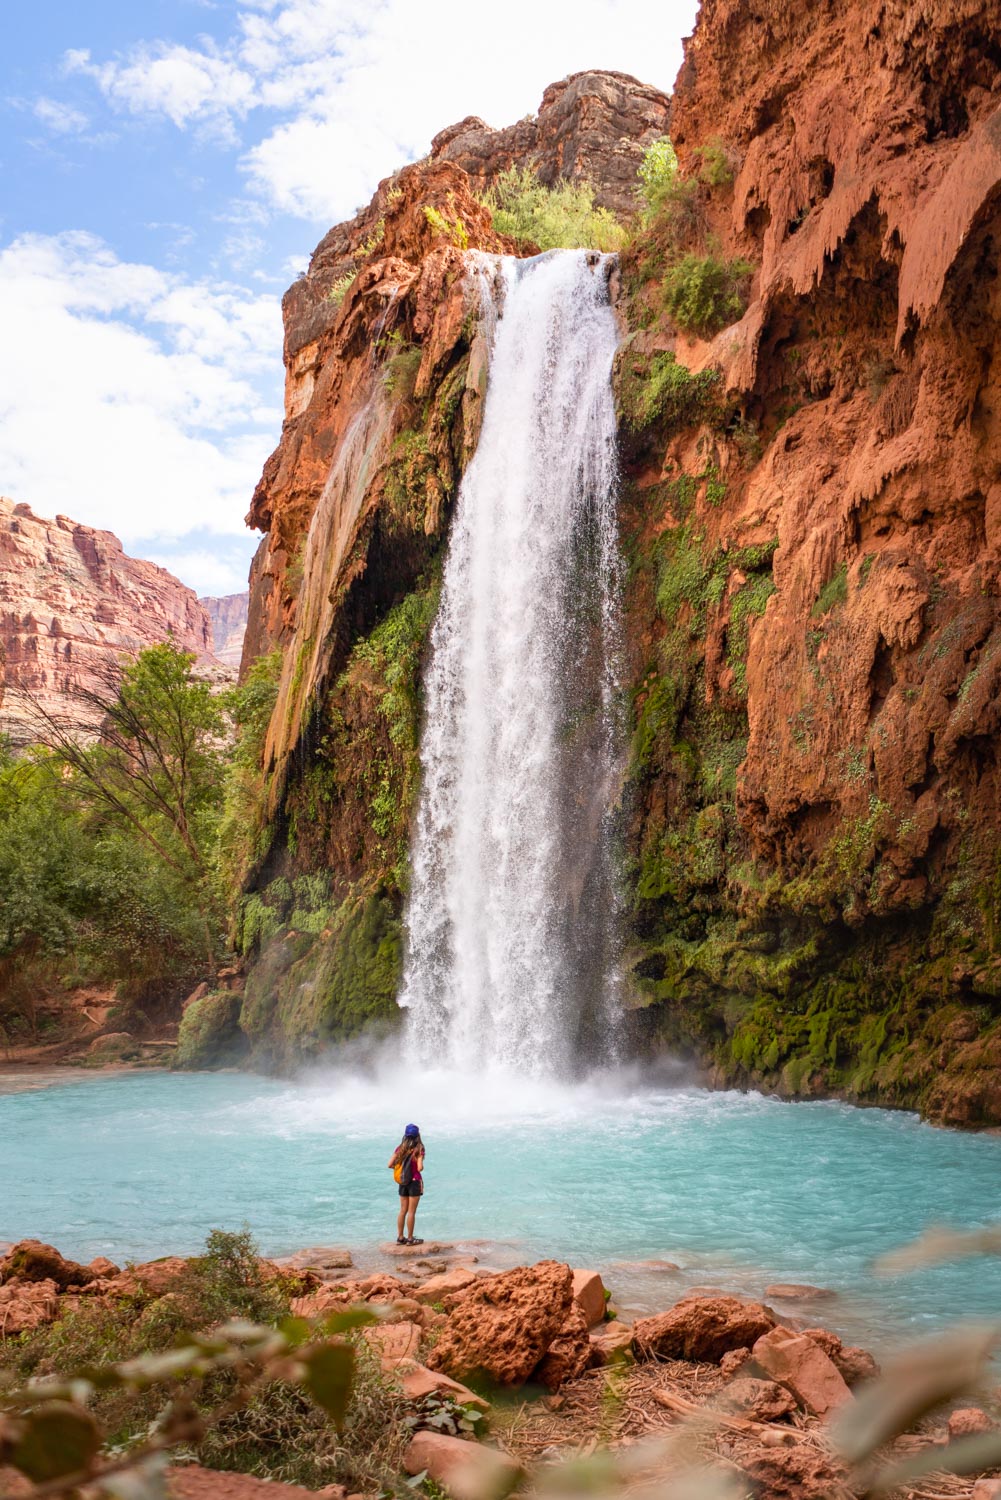

A view of Havasu Falls and the pools it created

One of my favorite pictures of Havasu Falls
We returned to camp and had a delicious meal of mashed potatoes with Knorrs chicken noodles. Even though we didn't hike that much, all the time spent in the sun, water, and the climbing up and down waterfalls took its toll. I felt like I just spent an entire day in my bathing suit at the beach!
On the morning of our hike out, we woke up before sunrise to get an early start and put some miles in before the hot sun came out. We happened to catch a gorgeous sunrise over Havasu Falls


Seeking shade relief in the shadow of a well-placed rock
The trek up can be daunting, but take breaks often in the shade, and drink lots of water! The last couple miles when the trail gets the steepest right before the parking lot can be the most mentally draining, but we felt so accomplished when we stepped foot on top of the plateau.
Overall Havasu falls is a very popular and touristy place. It is not a backpacking excursion by any means since the campgrounds are well developed, crowded, and expensive. Since going in 2012, I’ve noticed a huge change in the facilities and the number of tourists (as well as the amount of trash left behind). Be sure to practice Leave No Trace and plan to pack out all of your trash from your trip!
The combination of the turquoise water and red rocks are quite unique, and you’ll leave with the feeling that Havasu truly is a magical place.
Favorite gear for this trip